
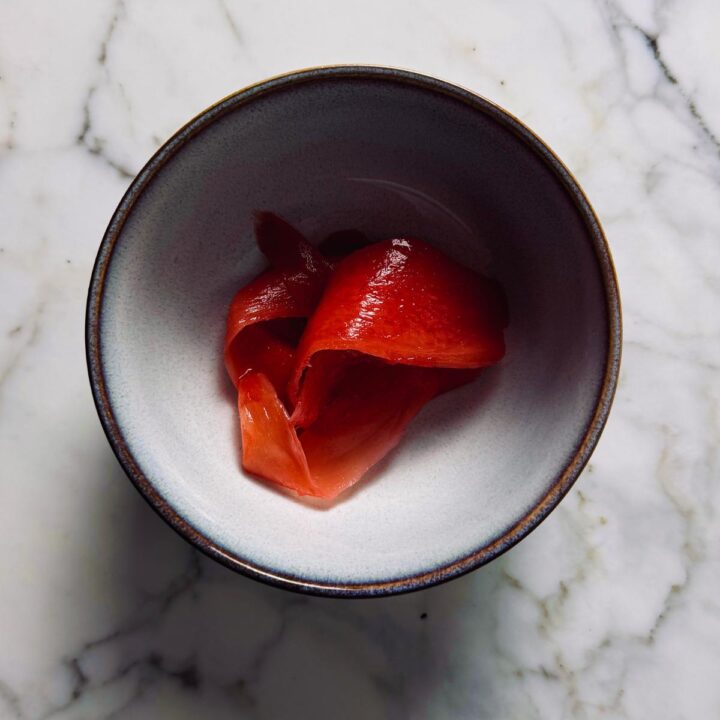
If you've ever wondered why the ginger at sushi restaurants is pale pink and tangy, the answer is simple: it's pink pickled ginger, known in Japan as gari. I'll show you how to make it at home using regular root ginger, no young ginger needed. Perfect alongside vegan sushi and California rolls, or tucked into a tofu katsu burger.
Pink Pickled Ginger – At a Glance
Ask AI about this recipe
Summaries, substitutions, scaling, allergen checks — or save this site to your AI for future recipe ideas.
AI answers can be wrong. Treat them as suggestions, not as a substitute for the recipe above.
Try it on fried rice or a teriyaki beef donburi, or shredded next to some agedashi tofu.
Jump to:
Ingredients
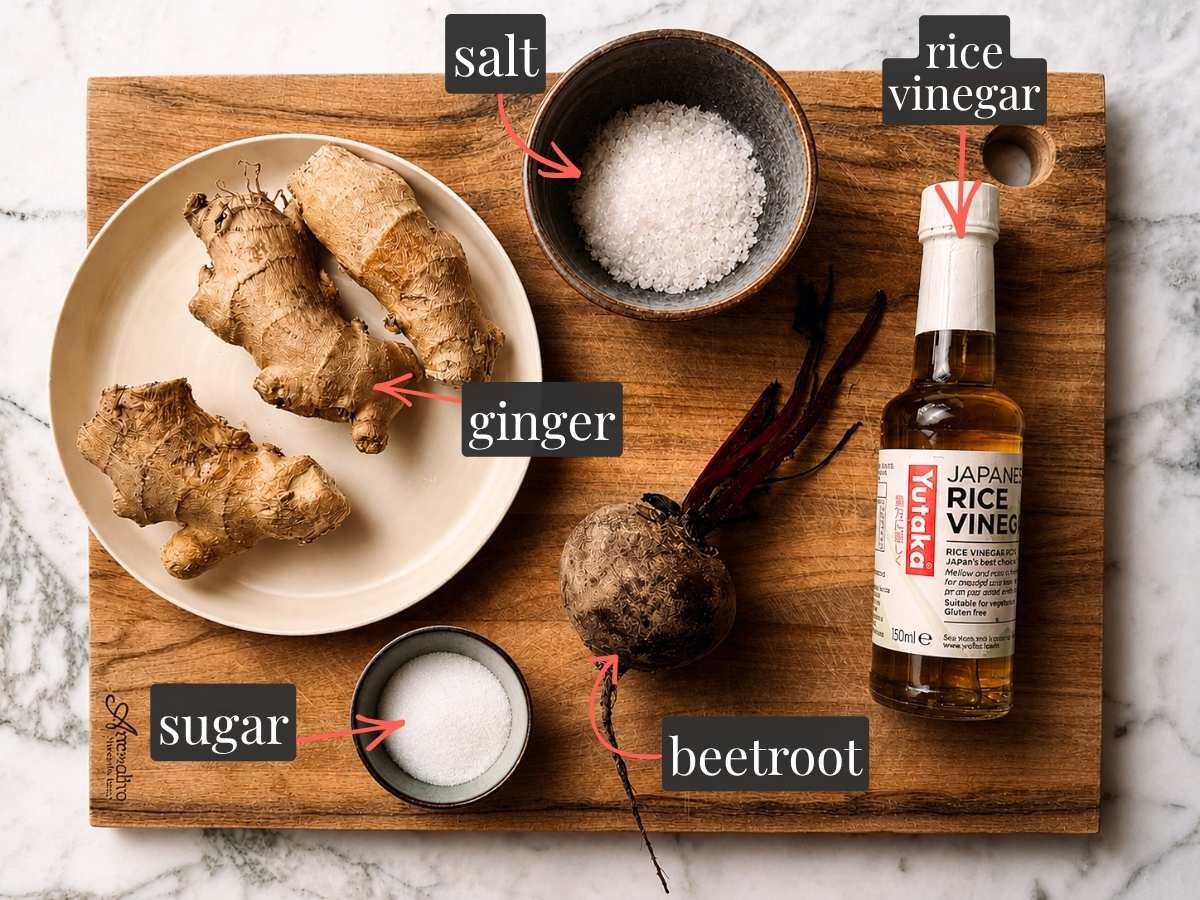
Traditionally made with young ginger (shin shoga), this recipe uses regular root ginger instead, easier to find and just as good. Slice it as thinly as you can and blanch briefly to soften the heat. Rice vinegar gives the most authentic flavor, and a single slice of beetroot in the hot brine turns the liquid naturally pink without affecting the taste. Strict vegans should look for organic or certified vegan sugar to avoid bone char processing.
For exact quantities, see the recipe card below.
How to Make Pink Pickled Ginger
1. Peel & Slice
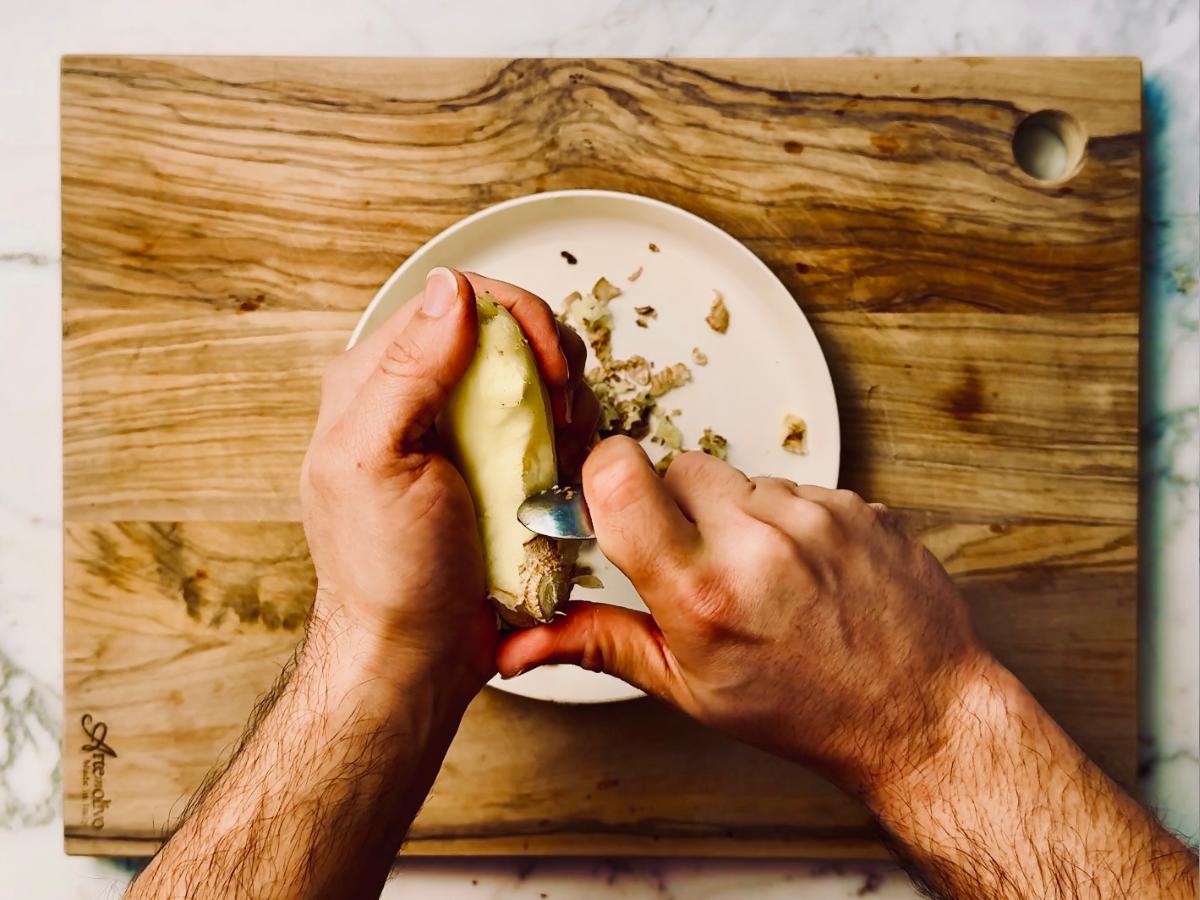
i) Start by peeling the ginger with the edge of a spoon. This is gentler than a knife and helps you work around the knobs without wasting flesh.
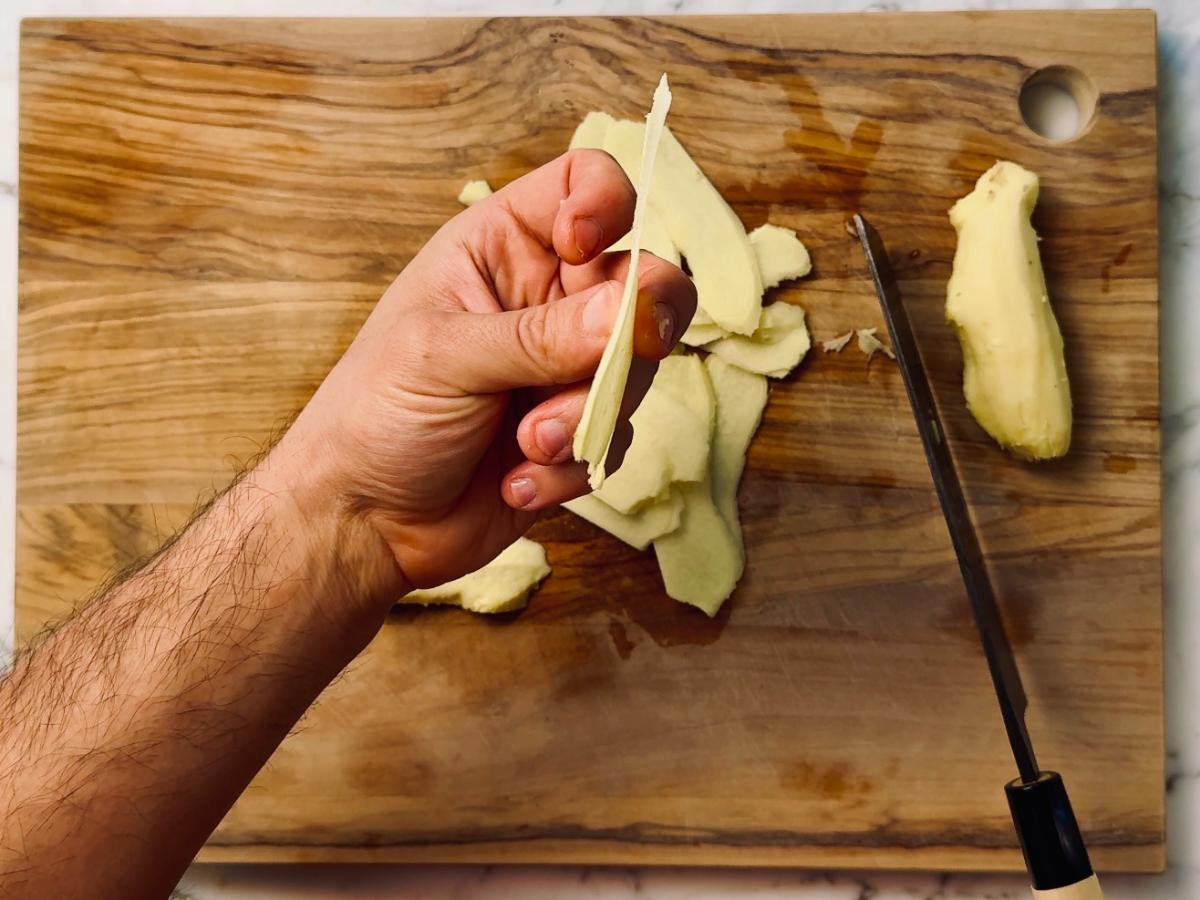
ii) Slice the ginger into paper-thin pieces using a mandoline or a sharp knife for precision and consistency. The thinner the slices, the better the flavor and texture.
2. Salt and boil

i) Once sliced, sprinkle the ginger with salt and let it rest for about ten minutes. This draws out moisture and begins to soften the flesh.

ii) After salting, blanch the slices in boiling water for 15 minutes. Blanching takes away the raw sharpness while leaving the ginger crisp and fresh-tasting.
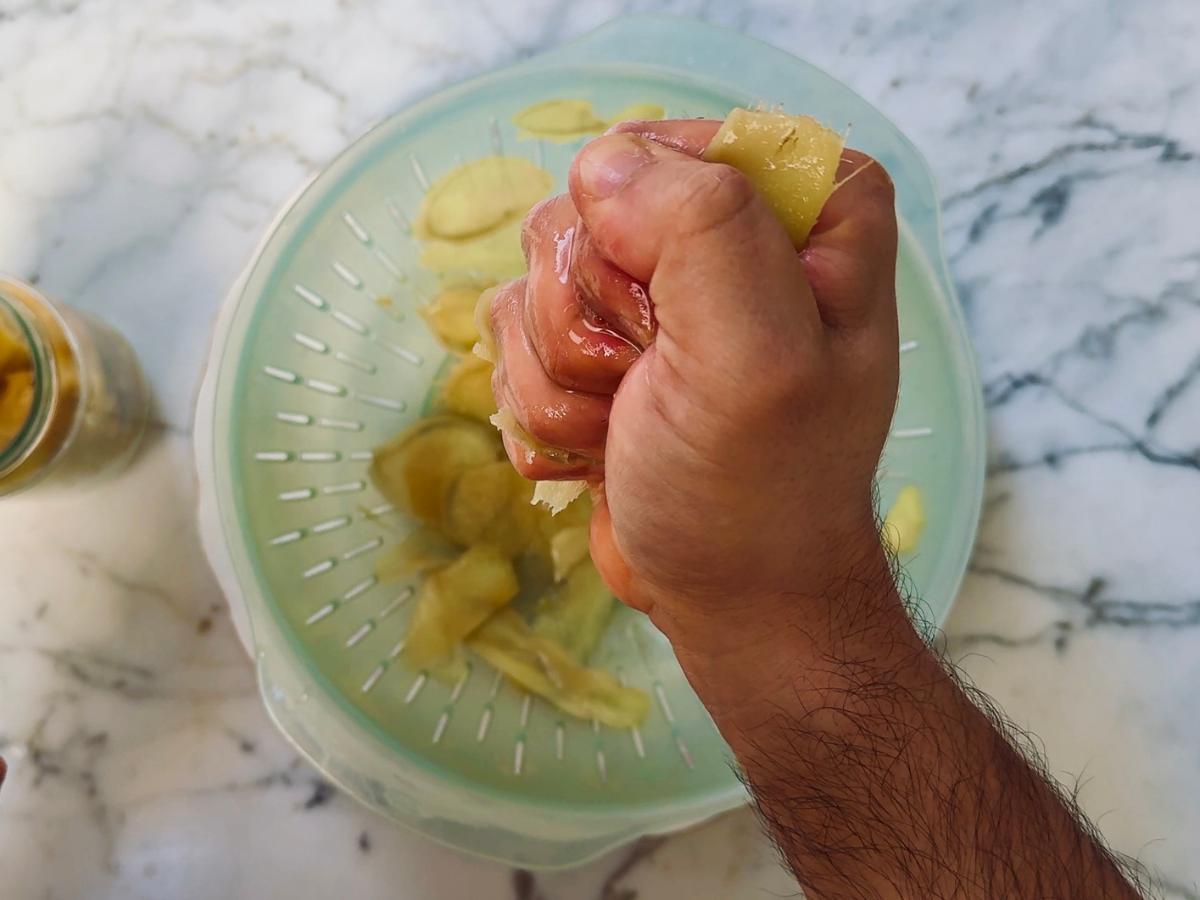
iii) Drain the slices, let them cool, then squeeze out as much water as possible. The drier they are, the more intense the flavor.
3. Pickling juice
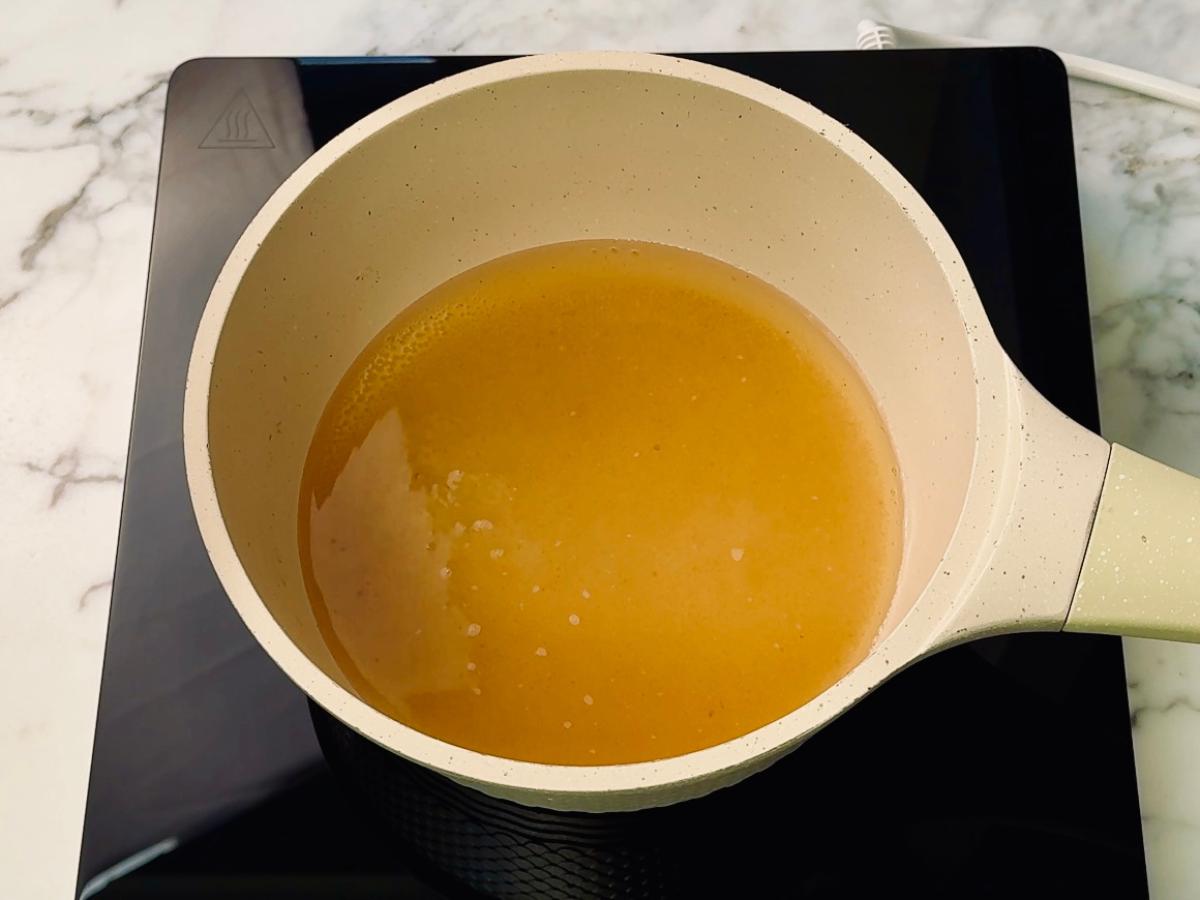
i) Meanwhile, prepare the pickling liquid by warming rice vinegar, sugar, and salt in a separate pan. Heat it just until the sugar dissolves, but be careful not to let it boil or the vinegar will lose its delicate acidity.

ii) Wash, peel, and slice the beetroot into discs about 1 cm thick, then add them to the hot liquid and stir gently. Leave the beetroot in for about 2 minutes, just long enough to release a vibrant pink color.
4. Jar and pickle

i) Pack the ginger into a sterilised jar and pour the warm liquid over the slices until they are completely covered.
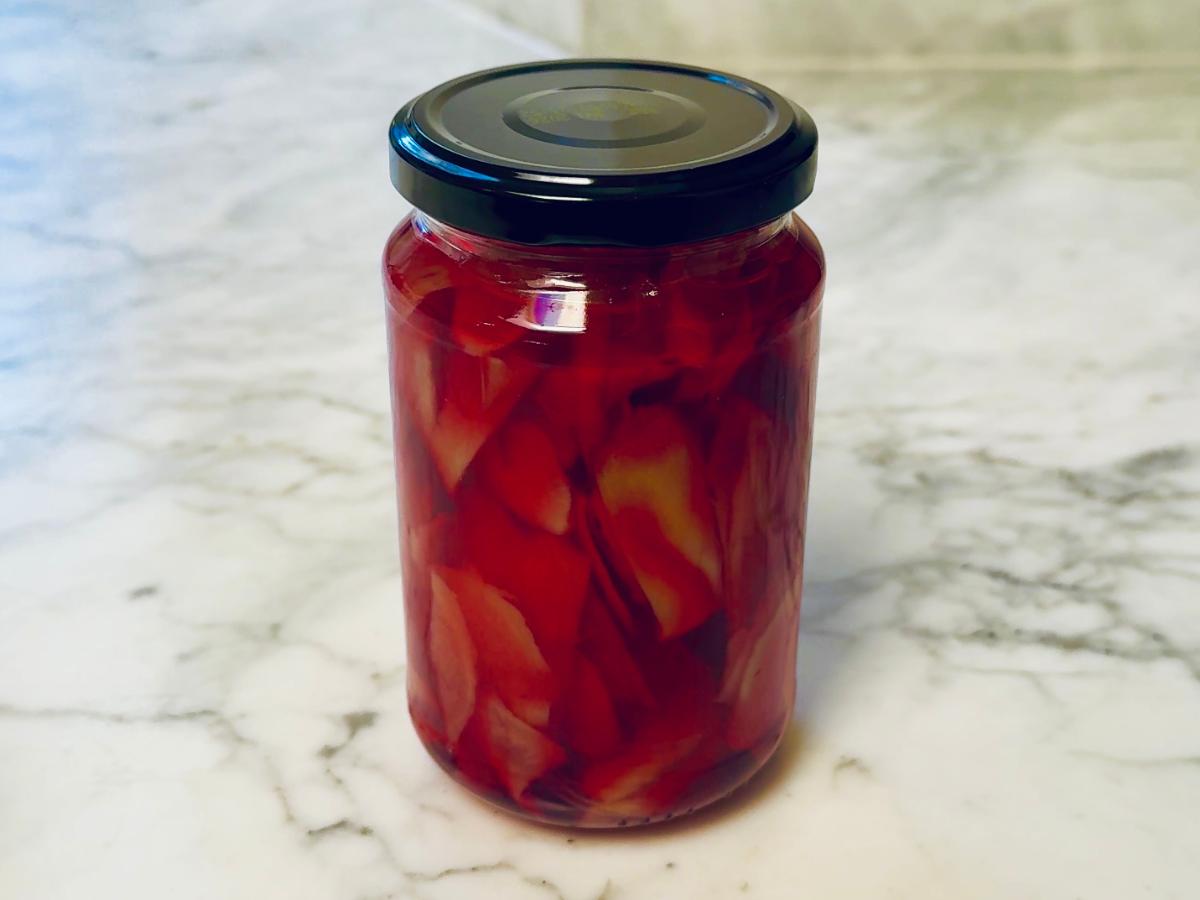
ii) Once sealed and chilled, the pickles will be ready after 3 to 4 hours, though the flavor improves overnight.
5. Serve with your favorite dish

i) Enjoy your homemade pickled ginger with sushi, rice bowls, or as a bright side to any vegan Japanese spread.
How to Sterilise a Jar
Wash the jar and lid in hot soapy water, rinse well, then place the jar in an oven at 160°C (320°F) for 10 minutes. Alternatively, boil the jar and lid for 10 minutes and air dry on a clean tea towel. Add the ginger and brine while the jar is still warm to avoid cracks. A 300-350ml jar is the right size for this recipe, giving you around 20-25 small servings.
Substitutions
| Item | Swap out |
|---|---|
| Rice vinegar | Apple cider vinegar or white wine vinegar |
| Sugar | Organic or certified vegan sugar (avoids bone char processing) |
| Salt | Reduce to taste, though it helps draw moisture from the ginger |
| Beetroot (for color) | Omit for a pale yellow ginger, or use a drop of natural pink food coloring |
Variations
Once you master the basic recipe, you can make it your own. Add a slice of fresh chili for gentle heat, a piece of star anise for spice, or a strip of citrus zest for brightness. Gari also pairs well with other pickles, so try it alongside quick pickled carrots and some pickled red chilis.
Storage
Store your pickled ginger in a clean, sterilised jar in the refrigerator and use clean utensils each time. It will keep for 2 to 3 weeks. If you need a refresher, see the section above on how to sterilise a jar for pickled ginger. Remember to use clean utensils when retrieving pickled ginger from the jar to avoid contamination. For longer storage, use proper canning techniques.
Pink Pickled Ginger FAQs
This usually happens if you've used older root ginger rather than young ginger, or skipped the beetroot step. Add a thin slice of raw beetroot to the hot brine and leave it for at least an hour - it colors the liquid quickly without affecting the taste.
Stored in a sterilized jar in the fridge, it keeps for up to four weeks. The flavor actually improves after a few days as the ginger mellows and absorbs the brine. Just use a clean utensil everytime you go in for more.
The traditional choice is young ginger (shin shoga). It has tender skin, mild heat, and sometimes takes on a natural pink tint during pickling. If you cannot find it, regular ginger works , just slice it very thin and blanch it to soften the texture.
Yes. Apple cider vinegar or white wine vinegar both work well. Rice vinegar gives the cleanest, most authentic flavor but the difference is subtle once the ginger has pickled.
Yes, in moderation. Ginger is well known for its digestive benefits, and pickled ginger adds a refreshing contrast to rich dishes. Like any pickle, it is best enjoyed as a small side rather than in large amounts.
It works brilliantly alongside spicy yaki udon, tofu katsu burger, vegan miso ramen, or stirred through Japanese fried rice for a tangy kick.
Yes, always. Rinse the jar with boiling water before filling and make sure it's fully dry. This prevents bacteria and keeps your ginger fresh for longer.
Other popular recipes
- Vegan Eel Sushi (unagi nigiri)
- Agedashi Tofu
- Miso Eggplant (Miso Aubergine) Recipe | Japanese Nasu Dengaku
- Vegan Tempura Recipe


📖 Recipe

Pink pickled ginger
Ingredients
- 175 g fresh ginger
- 1 teaspoon salt (for salting ginger)
- 2 cups water (for blanching)
- 150 ml rice vinegar
- 100 g sugar
- ½ teaspoon salt (for pickling liquid)
- 1 small beetroot (sliced into 1 cm discs)
Instructions cook mode
- Peel the ginger with the edge of a spoon to remove the ginger's outer skin.
- Slice thinly with a mandoline or sharp knife.
- Place the ginger slices in a bowl and sprinkle with 1 teaspoon salt. Mix with your hands to coat evenly. Leave for 10 minutes.
- Bring 2 cups water to a boil in a medium saucepan. Add the ginger slices and simmer for 15 minutes.
- While the ginger cooks, combine rice vinegar, sugar, and ½ teaspoon salt in a separate saucepan. Warm over medium heat until the sugar dissolves. Do not boil.
- Wash, peel, and slice the beetroot into 1 cm discs. Add to the vinegar mixture and stir for about 2 minutes to release a pink color. Remove from heat.
- Drain the ginger and allow it to cool completely. Squeeze out excess water with clean hands.
- Transfer the ginger to a clean, sterilised glass jar. Pour over the pink pickling liquid until the slices are fully submerged.
- Seal and refrigerate for at least 3-4 hours before serving. Best flavor develops overnight.
Notes
- Traditionally served with sushi; see our plant based sushi post for pairing ideas.
- Also great as a topping for rice bowls and many other Japanese dishes. For inspiration, check out our top 10 vegan Japanese recipes.
- Try it alongside other homemade pickles like easy pickled carrots, pickled chilis, or pickled radish.
- Keeps for 2-3 weeks in a sterilised jar in the fridge.
- Use organic or certified vegan sugar to ensure a vegan version


Leave a Reply