
Pickling is one of my favorite ways to use up vegetables and add something bright to the table. Lately I've been playing around with different kinds of radishes, and this quick Japanese-style version has become a regular in our kitchen. Most traditional recipes use daikon, but this vegan pink pickled radish recipe uses the small round pink radishes that are easy to find in many supermarkets.

Pink Pickled Radish – At a Glance
Ask AI about this recipe
Summaries, substitutions, scaling, allergen checks — or save this site to your AI for future recipe ideas.
AI answers can be wrong. Treat them as suggestions, not as a substitute for the recipe above.
Radishes come in all kinds of colors and sizes, and most of them pickle really well as long as they're fresh and firm. The pink ones slice neatly and take on a deeper color in the vinegar, which makes the jar look great and adds a bit of fun to meal prep.
Jump to:
Serving Suggestions
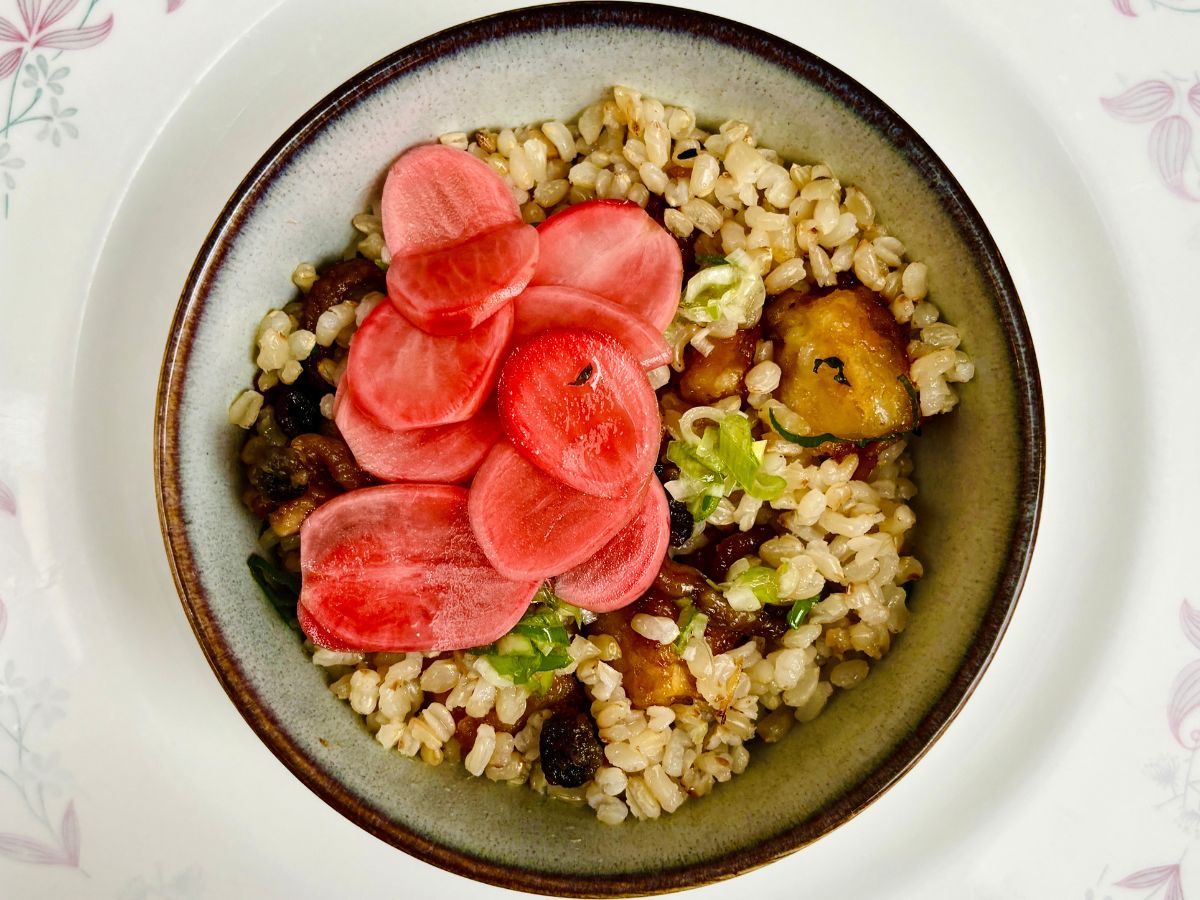
Pink pickled radish adds a bright pop of color and a tangy bite to all kinds of meals. Before we get into how to make it, here are some easy ways you can use it:
- Spoon it over this vegan teriyaki beef donburi.
- Add it to vegan sushi rolls, hand rolls, or onigiri.
- Serve it with one of our vegan udon noodle recipes.
- Pair it with vegan tofu recipes like katsu or pan-fried tofu steaks.
- Add a small pile next to some aubergine katsu curry.
- Mix it into salads or grain bowls for extra crunch.
- Layer it into sandwiches or wraps for a fresh, sharp finish.
They keep well in the fridge, so I often make a quick batch to have ready for busy weeknights.
Ingredients
Serves 1-2 | Prep time: 5 minutes | Cooking time: None
Here's what you'll need to make these quick Japanese-style pink pickles. If you want the exact amounts and the full step-by-step, you can jump straight to the printable recipe card. This section just gives a bit more guidance so you get the best result.
- Radishes: Use fresh, firm radishes. The small round pink ones work especially well because they slice neatly and take on a bright color in the vinegar.
- Mirin: Adds sweetness and balances the sharpness of the vinegar.
- Sugar: Rounds out the brine.
- Soy sauce: Adds umami without overpowering the radish.
- Salt: A small pinch helps draw out moisture and keeps the radishes crisp as they pickle.
- Rice vinegar: The base of the brine. It gives the pickles their tang and helps develop a deep pink color.
How to Make Pink Pickled Radish
One of the reasons I like this recipe so much is that you can make these pink pickled radish slices in almost no time at all. They add a bit of color and bring some life to any weeknight dish or leftovers I'm serving in a hurry to feed hungry mouths. The method is as simple as it gets: prep the radishes, season them, then pour over the quick brine. That's really all there is to it. Read on to get into the details.
Start by giving the radishes a good wash and trimming off the tops and tails. Freshness really makes a difference here. If the radishes feel firm and crisp, they'll hold their texture beautifully once they're in the brine.

Once they're prepped, slice them as thinly as you can. I usually aim for slices around a millimeter or two thick. Thinner slices take on the vinegar more quickly and turn a deeper pink, which is part of the fun of this recipe. A mandolin on its thinnest setting works really well if you prefer not to slice by hand or want perfectly even pieces.

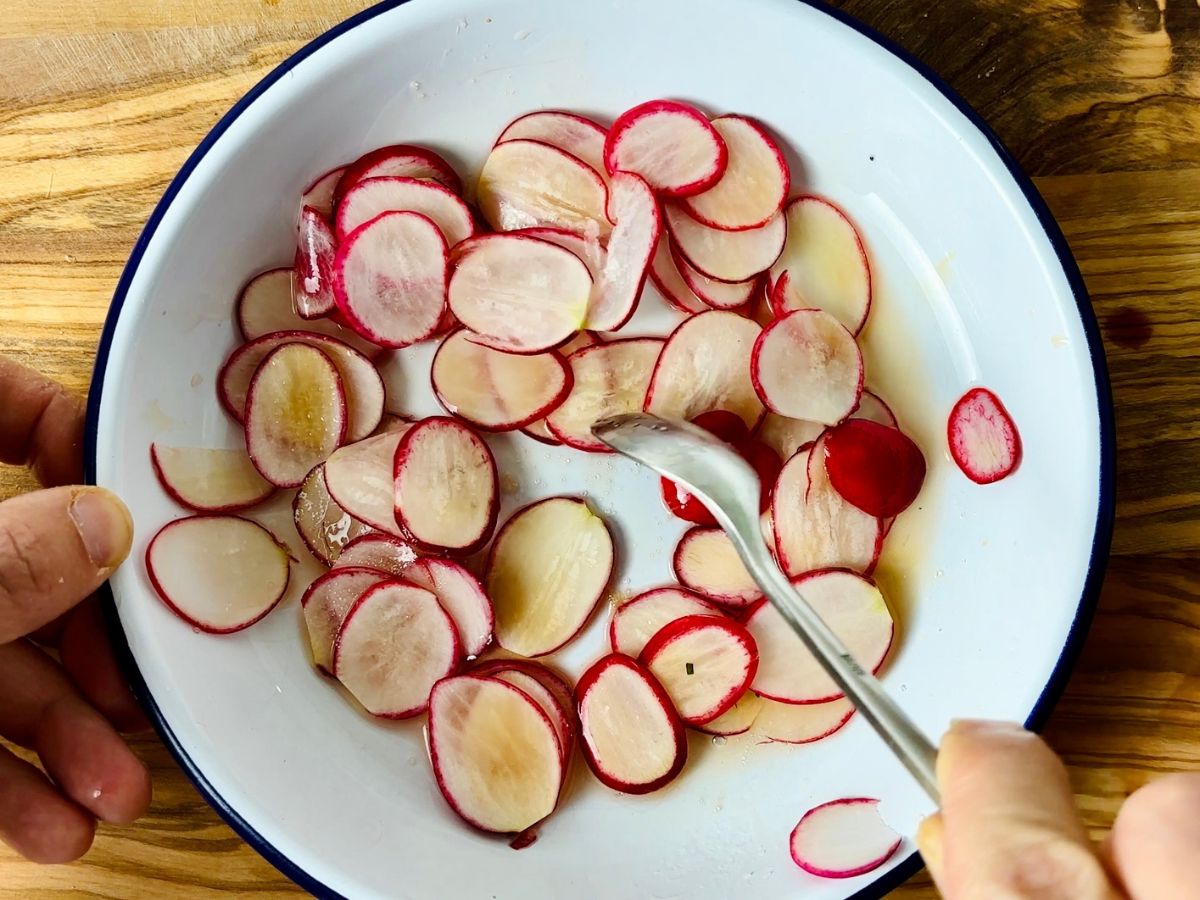
Spread the radish slices out on a plate and sprinkle a little salt and sugar over the top. This helps draw out moisture and keeps the radishes crunchy as they pickle. Give everything a quick mix with your hands or a spoon so the seasoning reaches most of the slices. You'll notice them softening slightly after a minute or two, which is exactly what you want.

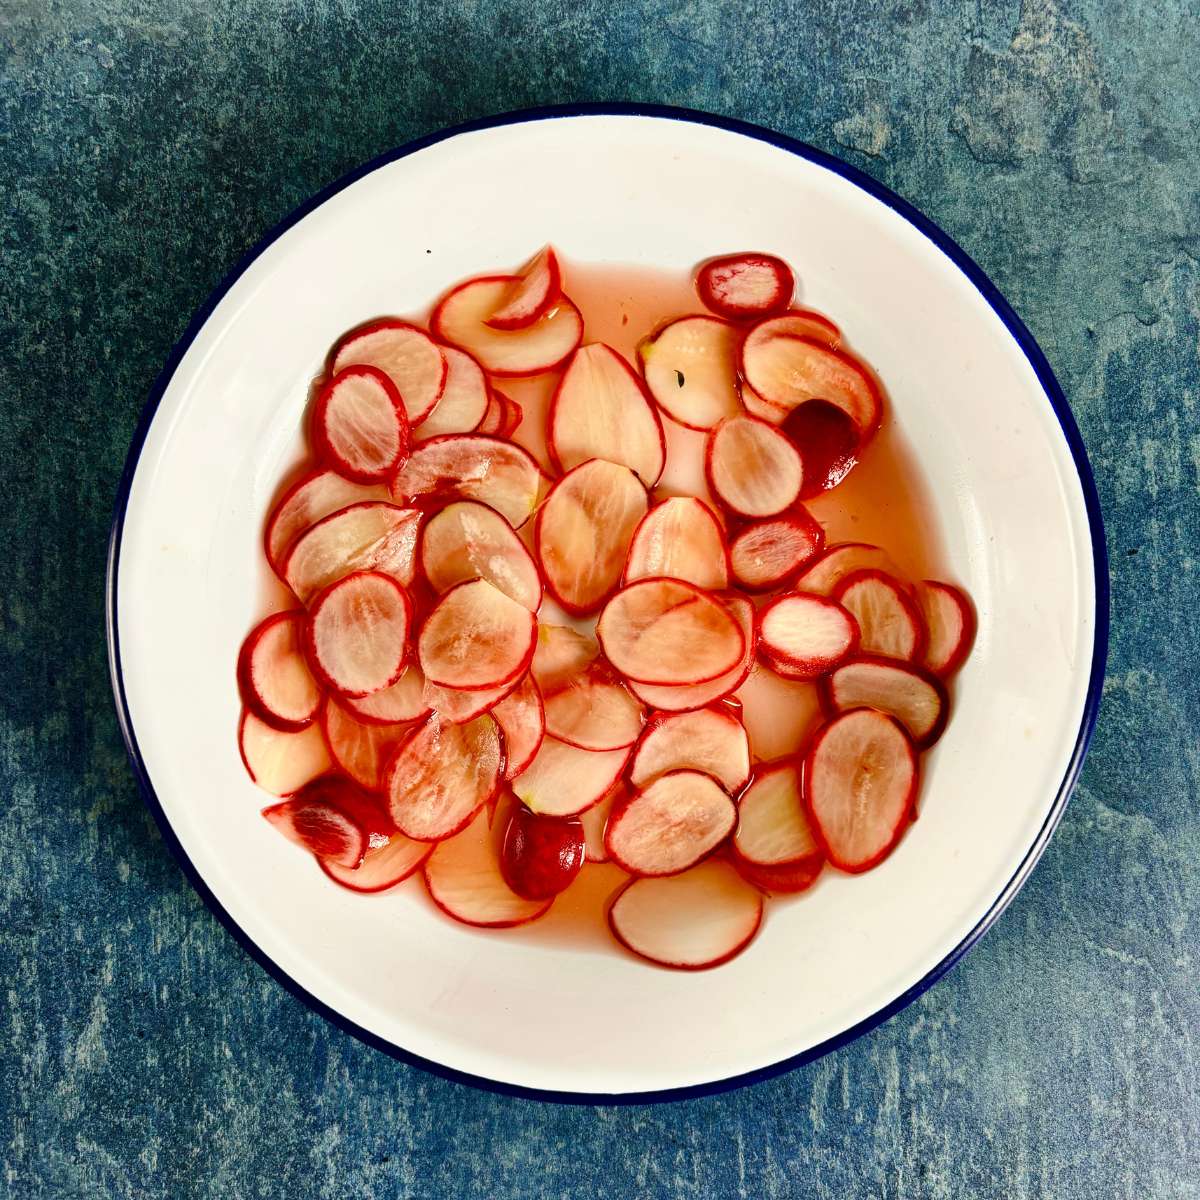
Once the radishes have started to relax, pour the mirin, soy sauce, and rice vinegar over the top. The balance of sweet, salty, and sharp is what gives these pickles their bite, but every brand of soy sauce and vinegar behaves a little differently. If the brine tastes too sharp, add a small pinch of sugar. If it needs a lift, a splash more vinegar brightens it right up. Stir gently so the slices are fully coated, then leave them to sit for a few minutes. The color begins to deepen almost straight away as the vinegar works on the pink skins.
You can enjoy the pickles right away, or let them chill in the fridge for a few hours so the flavor and color settle in. Either way, you end up with simple, quick pink pickled radish that adds a lot of character to whatever you're cooking that day.
Getting the Right Pickle Flavor
Soy sauce brands can vary greatly in saltiness, so you might need more or less than the amount suggested in this recipe to get the flavor you want. Give the brine a quick taste and adjust as needed. Rice vinegars also differ in sweetness, so a little taste test and adjustment can help you get the perfect balance of flavors in your pickles.
Substitutions
A few simple swaps can make this recipe more flexible for whatever you have at home.
- Sugar: You can skip the sugar altogether, but I find a little sweetness helps balance the salt and vinegar. If you prefer alternatives, stevia, agave nectar, coconut sugar, or maple syrup all work well.
- Soy sauce: If you want to avoid soy, coconut aminos or tamari are both great options. Keep in mind that brands vary a lot in saltiness, so you may need to adjust the amount to suit your taste.
Variations
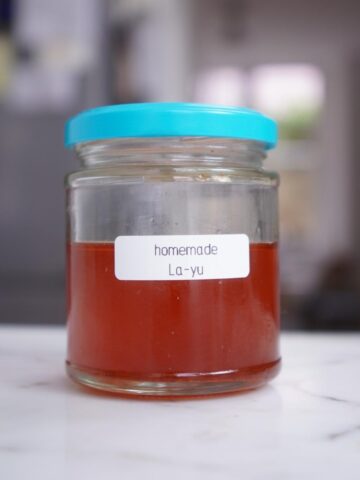
- Spicy: As someone with a penchant for heat, I must advocate for the inclusion of spice wherever possible, and this dish is no exception. A sliver or two of scotch bonnet pepper can transform it, elevating the flavors to unparalleled heights of deliciousness. Add it straight to the brine and let it infuse.
- More vegetables: This quick-pickle method works with lots of other firm vegetables. Carrots, beets, onions, cabbage, and cucumber all take well to the same brine and are fun to experiment with.
Storage
If you can resist eating them all at once, these pickles keep well in the fridge for 4 to 5 days, sometimes longer. Store them in a clean jar and make sure the radishes stay covered in the brine. You can also make a bigger batch and enjoy them over the next week or two.
Pink Pickled Radish FAQs
Any firm radish works well for this recipe. We use small round pink radishes that are easy to find in most UK supermarkets, but you should use whatever radishes are easy to find where you live. As long as they are fresh and crisp, they will pickle beautifully and take on color from the skin in the vinega
The pink color comes from natural pigments in the radish skin. When the slices sit in vinegar, the color moves into the center and gives the whole radish a deeper pink. No food coloring is needed. Vinegar simply boosts the natural color.
They keep well for about 1 to 2 weeks in the fridge. Store them in a clean, airtight jar and make sure the radishes stay fully covered by the pickling liquid.
You do not have to, but a quick sprinkle of salt helps draw out moisture and keeps the slices crisp. The recipe works either way. If you skip the salt, your pickles may just be a little softer.
📖 Recipe

Pink Pickled Radish (Quick Japanese-Style Pickles)
Ingredients
- 100 g small pink/red radishes
- 1 teaspoon mirin
- ¼ teaspoon caster sugar
- ½ teaspoon soy sauce
- Pinch of salt
- 2 tablespoon rice vinegar
Instructions cook mode
- Wash the radishes, then trim off the tops and tails.
- Slice the radishes into very thin discs (about 1-2 mm). A mandolin works well for even slices.
- Spread the slices on a plate and sprinkle over the salt and sugar. Toss lightly and let them soften for a minute or two.
- Pour the mirin, soy sauce, and rice vinegar over the radishes. Stir to coat and adjust the brine to taste if needed.
- Serve right away or chill for a few hours to let the color and flavor develop further.
Notes
- Taste the brine and adjust with a little sugar or vinegar as needed. Different brands vary in saltiness and sweetness, so small tweaks help balance the flavor.
- Serve with:
- One of these Japanese rice dishes
- One of these Vegan sushi recipes
- Alongside one of these Vegan Udon noodle recipes
- Vegan tofu recipes
- Aubergine Katsu curry


Leave a Reply