
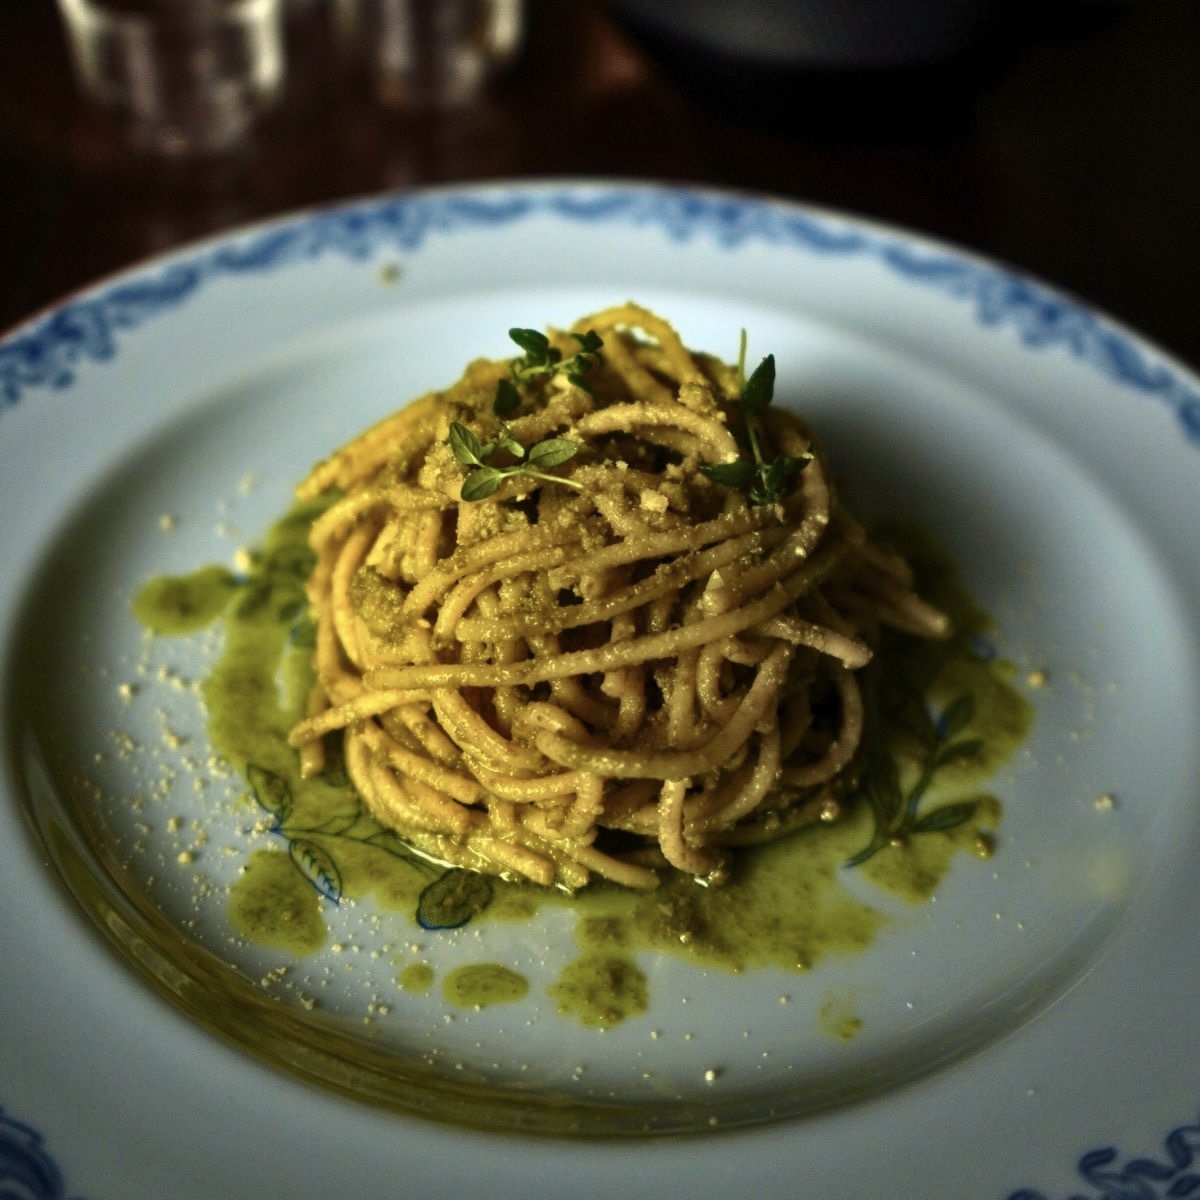
Did you know the Japanese invented spaghetti? If you didn't, it's probably because it isn't true. However, this miso pesto brings such a delicious Japanese twist to classic pesto that you could almost believe that Tokyo is the birthplace of this Italian classic. It's fast, rich, and full of savory depth, and the only vegetable prep involved is peeling a clove of garlic. Perfect for weeknights or anytime you want big flavour without the workload.
Miso Pesto – At a Glance
Ask AI about this recipe
Summaries, substitutions, scaling, allergen checks — or save this site to your AI for future recipe ideas.
AI answers can be wrong. Treat them as suggestions, not as a substitute for the recipe above.
Why You'll Love This Miso Pesto
This recipe blends basil, walnuts, shiro miso, nutritional yeast and olive oil into a creamy, umami-packed sauce that coats pasta beautifully. It's:
- Easy to make smooth, textured, or rustic
- Ready in 20 minutes
- Minimal prep, minimal dishes
- Creamy and full of depth
- Versatile: great on pasta, veg, toast or grain bowls
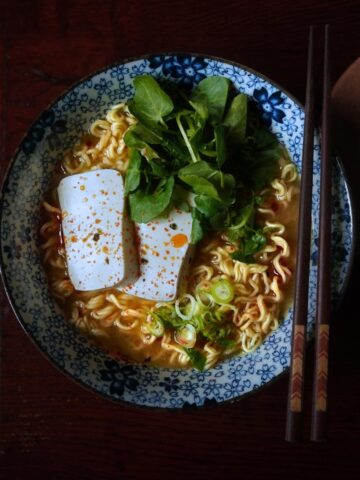
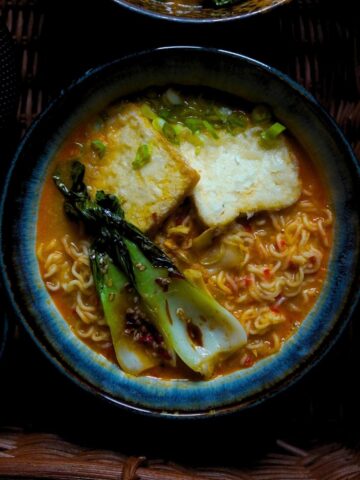
If you love this dish, you'll also love my miso mushroom pasta and this Takana spaghetti. These rapid recipes are great when you're in a rush or too tired to cook on a weeknight.
Jump to:
Ingredients
For the Miso Pesto
- Garlic
- Walnuts
- Shiro miso (white miso)
- Nutritional yeast
- Olive oil
- Plant butter
- Basil
- Pinch of salt
For the Pasta
- Spaghetti (or your preferred pasta)
- Water
- Salt
To Garnish
- Fresh basil or thyme
- Cashew parmesan
How to Make Miso Pesto
Blend the pesto:


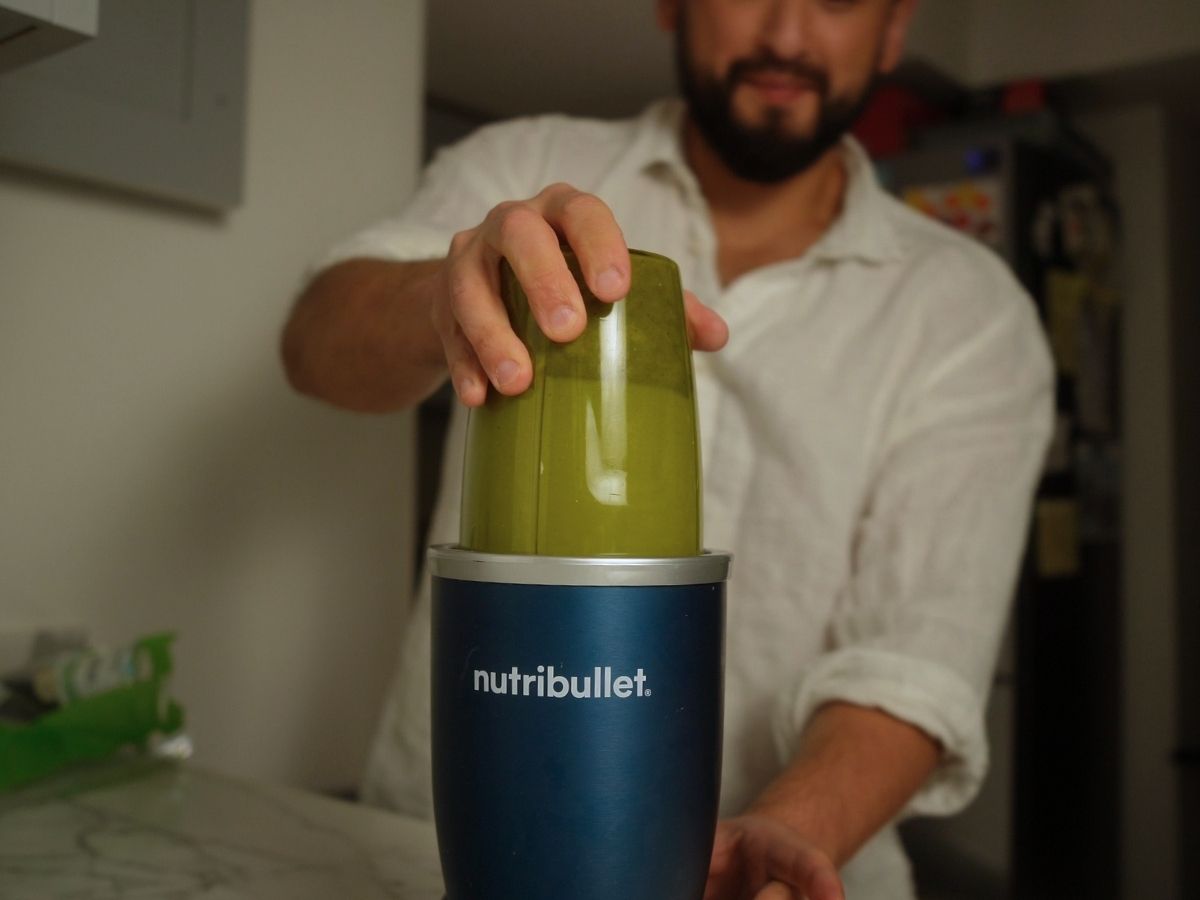
Peel the garlic, then add all pesto ingredients to a blender or food processor. Blend until smooth, or leave a little texture if you prefer a rustic finish. If you want a more authentic finish do all this in a pestle and mortar if you have the luxury of time.
*Multitasking time saver: Put a large pot of salted water on the boil for your pasta.

Cook the pasta:
Once your water is at a rolling boil, cook the spaghetti until al dente. Tip: Make sure your pasta has plenty of bite left in it as it'll continue cooking when you stir it through the pesto.

Warm the pesto:


Add the pesto to a frying pan over medium heat. Once it begins to gently simmer, add around half a cup of pasta water to loosen and emulsify the sauce. Once your pasta is cooked add directly to the pesto.
Combine & Serve:


Mix everything together well until each strand is coated, plate up and sprinkle with some cashew parm (if you've made some) and garnish with whatever makes you feel fancy (I've used thyme)

Hint: Warm your serving bowls before plating.
A quick rinse with hot water or a minute in a low oven keeps the pasta hotter for longer and helps the miso pesto stay silky instead of seizing or thickening as it hits a cold plate. Perfect for that glossy, restaurant-style finish.
Other ways to enjoy Miso Pesto
This is an excellent pasta sauce, of course, but pesto is a bit of a genre-bender. It works as both a sauce and a condiment, which means it's just as good spooned over:
- Roasted vegetables
- Grilled asparagus or courgette
- Toasted sourdough
- Or as a dip with crackers or warm pita bread

Tips & Substitutions
- Nut variation: Swap walnuts for cashews or almonds.
- Extra greens: Add a handful of spinach before blending.
- Gluten free: Use your favourite gluten-free pasta.
- Texture: Use a food processor for more bite or blend fully for smoothness.
Equipment
- Kitchen scales
- Blender, food processor, or pestle and mortar
- Large pot for boiling pasta
- Frying pan
- Tongs
- Measuring spoons
Storage
- Freezer: Freeze the pesto (on it's own) for up to 2 months. Freeze in ice cube trays for easy portions.
- Fridge: Up to 4 days in an airtight container.
Miso Pesto FAQs
Yes. Shiro miso gives the mildest, sweetest flavour, but you can swap it for yellow miso or even red miso if you prefer a stronger, deeper savoury note. Just adjust to taste because darker misos are saltier.
Absolutely. Cashews, almonds, pine nuts, or even sunflower seeds all work well. Walnuts give a lovely nuttiness, but the recipe is flexible.
Warming the pesto gently creates a silkier sauce and helps it cling to the pasta, especially once you add pasta water. You can serve it cold if you prefer, but the texture will be thicker making it more difficult to stir through.
Use fresh basil and blend it quickly. Adding olive oil and a little miso helps slow oxidation. Storing the pesto with a thin layer of olive oil on top also keeps it bright green.
The pesto itself is naturally gluten-free. Simply pair it with your favourite gluten-free pasta.
Related
Looking for other recipes like this? Try these:
Yummy drinks to try:


📖 Recipe

Miso Pesto, a Quick Umami Twist on Classic
Equipment
- Blender or food processor, or pestle and mortar
- Large pot for boiling pasta
- Frying pan
- Tongs
- Measuring spoons
- Kitchen scales
Ingredients
Pesto:
- 1 -2 cloves garlic
- 60 g walnuts
- 2 teaspoon shiro miso
- 15 g nutritional yeast
- 100 ml olive oil
- 15 g plant butter
- 40 g basil
- Pinch of salt
Pasta:
- 320 g spaghetti
- 2.5 -3L water
- 2.5 -3 teaspoon salt
Garnish:
- Fresh basil or thyme
- Cashew parmesan
Instructions cook mode
- Add all pesto ingredients to a blender or food processor and blend until smooth or slightly textured.
- Bring a large pot of salted water to a boil and cook the spaghetti until al dente.
- Warm the pesto in a frying pan over medium heat, then stir in about half a cup of pasta water to loosen and emulsify.
- Transfer the cooked pasta directly into the pan and toss until evenly coated.
- Serve immediately with cashew parmesan and fresh herbs.
Notes
- Use shiro miso for a mild, balanced flavour. Darker misos will make the pesto saltier and stronger.
- Blend less for a rustic texture or more for a smooth, creamy sauce.
- Add pasta water gradually until you reach your preferred consistency.
- Warm your serving bowls to keep the sauce silky and prevent it from thickening.
- Store leftover pesto in the fridge for up to 4 days or freeze in portions for up to 2 months.
- Swap walnuts for cashews, almonds or sunflower seeds if needed.


Leave a Reply