
There are few things as satisfying as putting together a simple jar of pickled vegetables and knowing they'll soon add a zing to your next meal. Growing up, I was fascinated by the colorful jars of pickles that adorned my auntie's kitchen in Japan. Whether they were daikon pickles bright from turmeric or simple carrot ribbons steeped in vinegar, each jar told a story of care and tradition. This recipe for vegan pickled carrots is inspired by those memories but adapted for simplicity so you can bring a touch of those flavors to your table.

Quick Pickled Carrots – At a Glance
Ask AI about this recipe
Summaries, substitutions, scaling, allergen checks — or save this site to your AI for future recipe ideas.
AI answers can be wrong. Treat them as suggestions, not as a substitute for the recipe above.
These pickles shine during spring and summer when lighter, fresher meals are in season, but they can also add a cheerful burst of color to winter dishes, reminding you of sunnier days. Perfect for any time of the day, whether as a part of lunch, dinner, or even a quick snack, Japanese pickled carrots bring a nostalgic touch of simple elegance to your table year-round.
Jump to:
Ingredients

- Rice vinegar
- Sugar
- Salt
- Carrot
See recipe card for quantities.
How to Make Quick Pickled Carrots

- Peel the carrot and trim both ends. Slice into thin, wide strips or rounds.
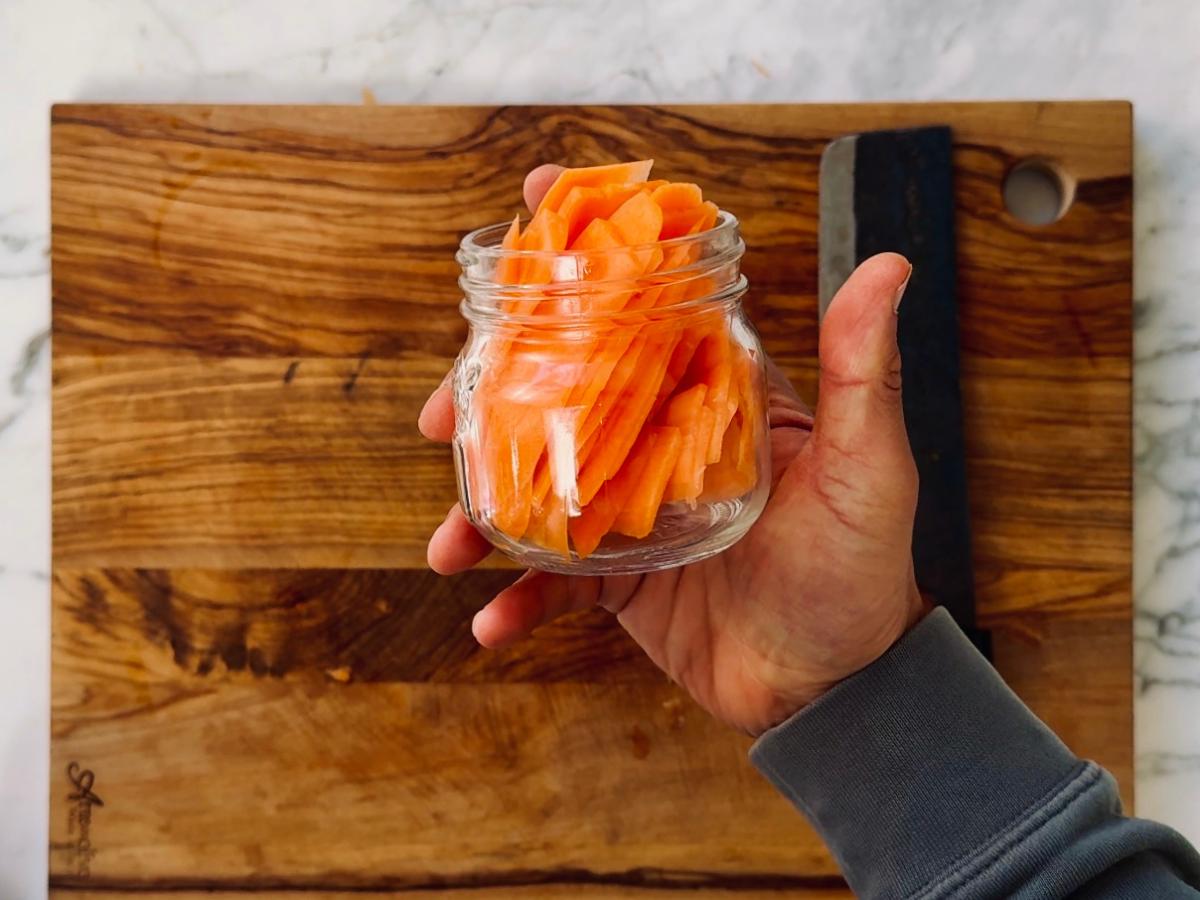
- Place carrots into a small jar, big enough to house them but small enough they fit tightly in.

- Simmer the rice vinegar, salt, and sugar to a small pan on low heat.

- Remove the liquid from heat and once cooled, pour the liquid over the carrots ensuring they are completely submerged.

- Seal the jar tightly with a lid and refrigerate overnight for the best flavor.
Hint: Always use the freshest vegetables you can find-crisp, vibrant carrots will yield the best texture and flavor. When slicing your carrots, aim for uniform thickness so they pickle evenly and develop the perfect bite.
Substitutions
One of the beautiful things about Japanese pickled carrots is their adaptability to various dietary preferences and needs. If you're looking for a lower-sodium option, you can opt for low-sodium salt or use coconut aminos, which provide a slightly sweeter but still savory flavor profile.
If you're watching your sugar intake, substitute the sugar with a natural alternative like stevia or monk fruit sweetener, keeping the sweetness subtle and balanced.
Quick Pickled Carrots Variations
If you're feeling adventurous, there are plenty of ways to put your own spin on Japanese pickled carrots. For a spicy kick, consider adding a few slices of fresh chili peppers or a sprinkle of red pepper flakes to your pickling liquid. This little twist provides a warm heat that pairs beautifully with the tangy and sweet brine.
For a more aromatic version, try incorporating a dash of toasted sesame oil into the mix, along with sesame seeds for texture. This creates a nutty, slightly smoky fusion that's perfect for fans of deeper, complex flavors. You can also add thin slices of ginger or garlic for a bold, savory depth.
How Long Do Quick Pickled Carrots Last?
For optimal freshness, store your pickled creations in an airtight jar in the refrigerator, where they can last up to 2-3 weeks. While freezing isn't recommended as it can alter the texture, these vibrant flavors are best enjoyed fresh within their storage time.
Top Tip
Allow the pickling process to work its magic. While you can enjoy these carrots relatively quickly, letting them sit in the refrigerator for at least 24 hours ensures the flavors fully meld together, resulting in a deliciously nostalgic and flavorful treat.
Quick Pickled Carrots FAQs
Patience is an essential ingredient when it comes to pickling, especially with crunchy delights like carrots. After sealing the jars, it's best to allow the carrots to sit and absorb the flavors of the brine. Typically, pickled carrots reach their prime after about 24 to 48 hours in the refrigerator, but for a more robust flavor, letting them rest for a week can work wonders. This waiting period allows the vinegar, and natural sweetness of the carrots to blend harmoniously, creating that nostalgic tang we all love. While the anticipation can be tough, the reward-a jar of perfectly pickled carrots-is well worth the wait.
Blanching carrots before pickling is not always necessary, but it can make a delightful difference depending on the texture you desire. Blanching involves briefly boiling the carrots, then plunging them into ice water to halt the cooking process. This method softens the carrots slightly while maintaining their vibrant color and natural crunch. For those who cherish a firmer bite, skipping this step works just as well-raw carrots retain their crispness beautifully in the brine. Ultimately, whether or not to blanch depends on personal preference and the outcome you're yearning for. Both techniques honor the timeless art of pickling while adding a personalized touch to your batch.
Eating pickled vegetables daily can bring both joy and benefits, but moderation is key. Pickled vegetables are packed with flavor and often provide probiotics, which support gut health and digestion. They also retain many of their original nutrients, making them a tasty way to incorporate more vegetables into your diet. However, it's important to be mindful of the salt and sugar content in some pickled creations. Consuming excessive amounts of sodium can be problematic for some individuals, while added sugars could affect overall health goals. The key lies in balance-enjoying pickled vegetables as part of a varied diet ensures you can savor their tangy goodness without overindulging.
Other tasty recipes
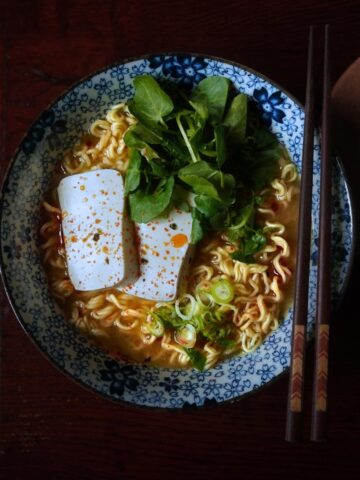
- Vegan Miso Ramen - Quick 10 Minute Recipe
- Yuzu Ramen (Japanese Citrus Noodle Soup Recipe)
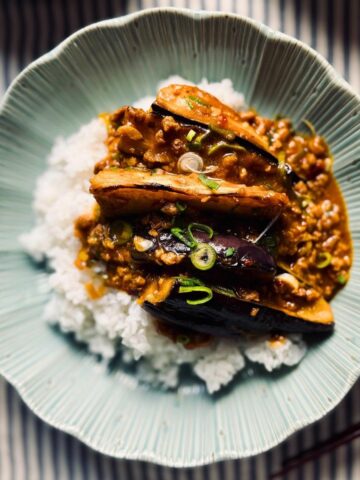
- Mabo Nasu (Mapo Eggplant 麻婆茄子)
- Our Favourite Vegan Udon Noodle Recipes


📖 Recipe

Easy Pickled Carrots
Equipment
- 1 jar
- 1 saucepan
- 1 ladle
- 1 sharp knife or mandolin
- 1 peeler
Ingredients
- 100 ml rice vinegar
- 50 g sugar
- ½ teaspoon salt
- 1 large carrot or 2 medium
Instructions cook mode
- Peel the carrot and trim both ends. Slice into thin, wide strips or rounds.
- Place carrots into a small jar, big enough to house them but small enough they fit tightly in.
- Simmer the rice vinegar, salt, and sugar to a small pan on low heat.
- Remove the liquid from heat and once cooled, pour the liquid over the carrots ensuring they are completely submerged.
- Seal the jar tightly with a lid and refrigerate overnight for the best flavor.


Pete Gerrard says
Yummy recipe!!