
This gyoza wrappers recipe wasn't something I set out to master, but when I couldn't get hold of Japanese gyoza skins, a few times recently, I decided to make them myself. I was really chuffed with the end results, and what started as a backup solution turned into a kitchen project I really enjoyed. Using just flour, water, and salt, you can roll out fresh dumpling skins that are soft, elastic, and perfect for wrapping you favorite gyoza filling.

Gyoza Wrappers – At a Glance
Ask AI about this recipe
Summaries, substitutions, scaling, allergen checks — or save this site to your AI for future recipe ideas.
AI answers can be wrong. Treat them as suggestions, not as a substitute for the recipe above.
Why You'll Love This Gyoza Wrappers Recipe
- Only 3 ingredients - flour, water, and salt.
- Vegan - no eggs, no dairy, just simple plant-based dough.
- Freezer-friendly - make a big batch and stash them away for when you need them.
Once you've rolled a few homemade gyoza wrappers (or dumpling skins), you'll see how easy it is to keep a stack on hand for your next dumpling night.
Jump to:
Ingredients
Makes ~30 skins | Prep time 2 hrs | Cook time 0 mins
This is an overview with extra tips and guidance. See the printable recipe card for quantities.
- Flour mix - I use half bread flour and half all-purpose. The bread flour makes the wrappers chewy and strong, while the all-purpose keeps the dough soft enough to roll thin.
- Salt - just a pinch of good sea salt. It seasons the dough and helps the gluten structure.
- Hot water - boiling water is key. It helps soften the gluten so you can roll the skins thin without them springing back. Add it gradually so the dough stays firm and elastic rather than sticky. You may need a touch more so keep a little extra on hand.
Once made, you can use your gyoza skins fresh or freeze and store them for up to 3 months.
How to Make Gyoza Wrappers
The process can be broken down into 3 main steps.
- Make the dough
- Rest and divide
- Roll and cut the skins
Let's go through each of them.
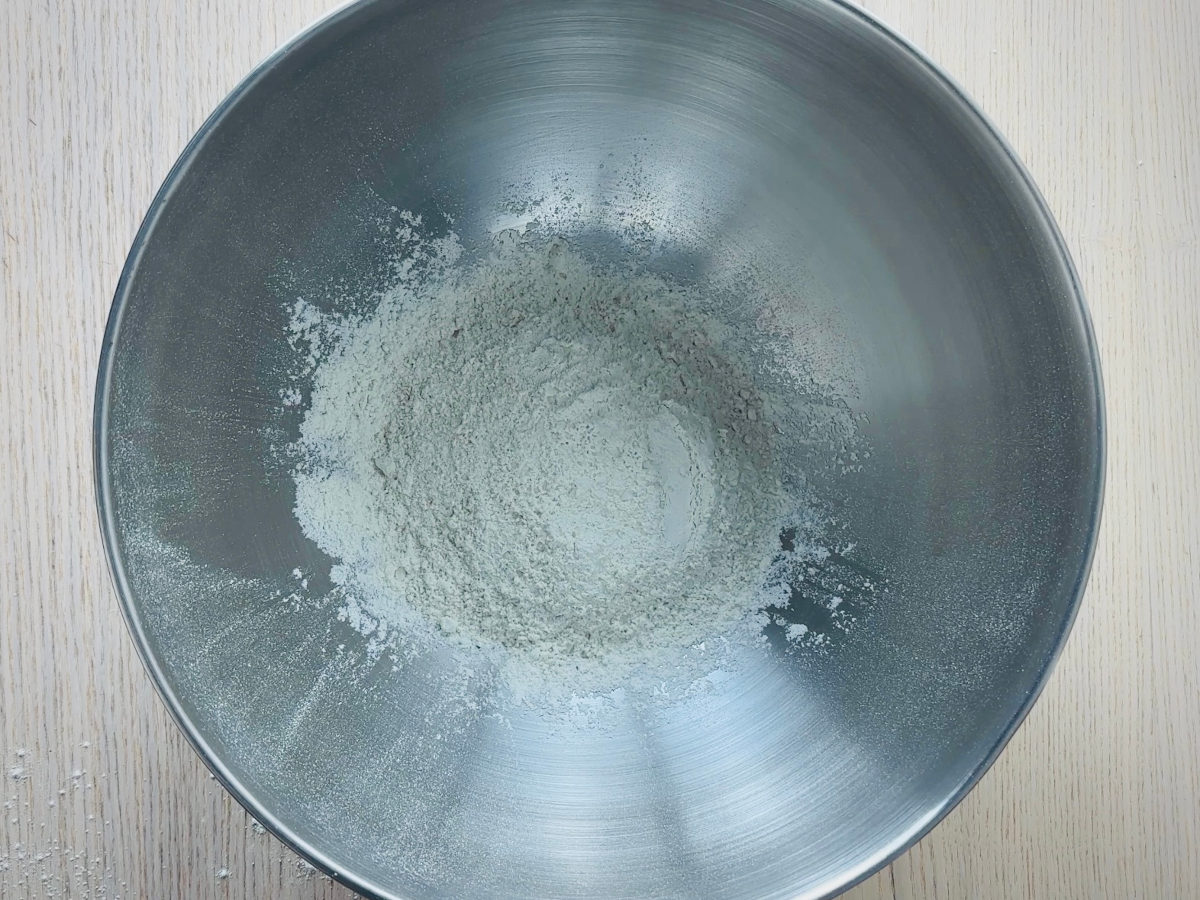
Make the dough
Start by mixing the flour and salt in a large bowl. Slowly pour in the boiling water while stirring with a spatula (this helps you avoid lumps and lets the flour hydrate evenly). At first the dough will look shaggy, but once it's cool enough to handle, get in there with your hands.
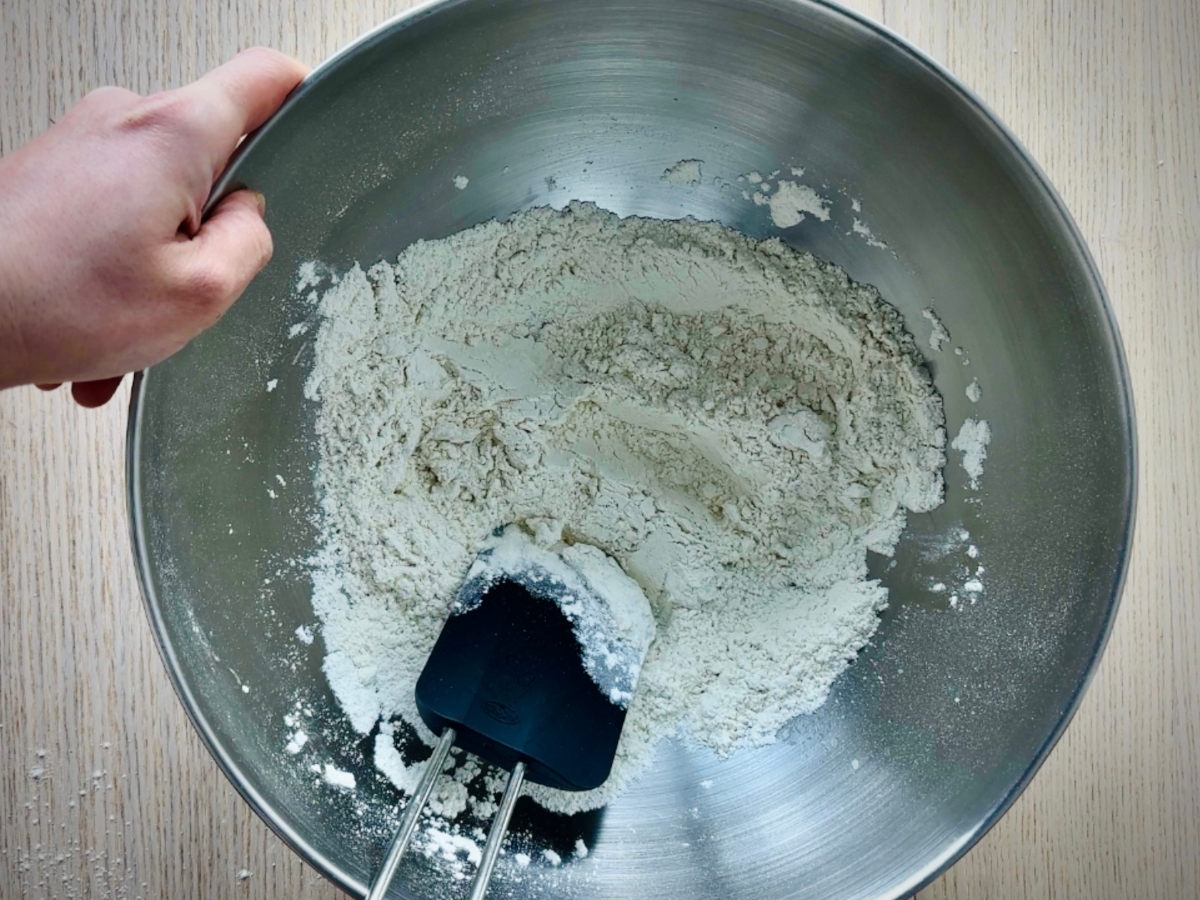
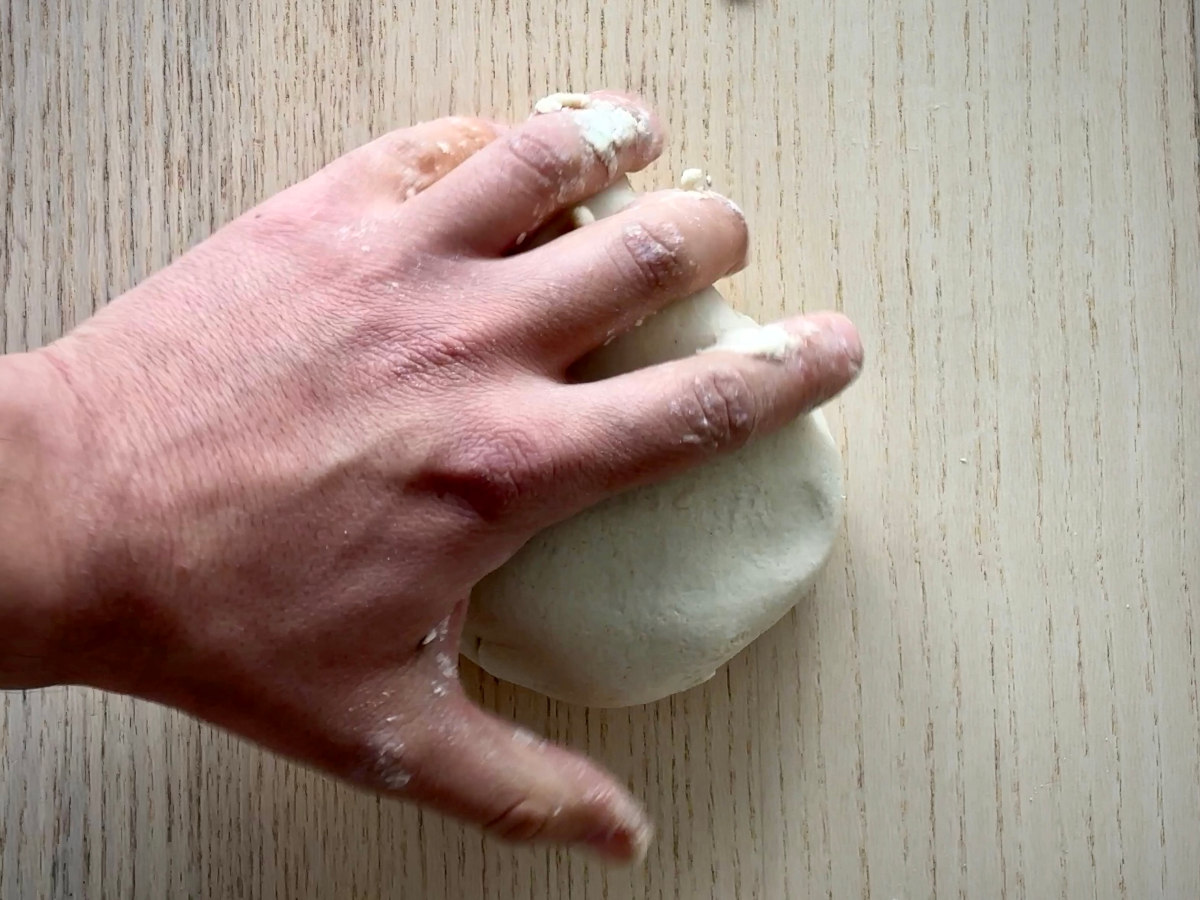
Begin to knead and roll the dough picking up loose flour as you go. Once your bowl is 'clean' move it onto a clean table or worktop. Keep kneading for about 10 minutes. It should begin to look smooth and feel a bit like 'Play-doh', soft but not so soft that it sticks to your work surface. If it is sticky, dust in a little flour; if it's dry and cracking, add a teaspoon of water at a time.

Tip: I've sometimes added a little too much water (about 30ml extra) when the flour seemed thirsty, and it always led to skins that were weak and sticky. That makes pleating and folding gyoza dumplings far trickier than it needs to be. It's best to avoid extra liquid and instead check the feel of the dough: it should be firm and pliable, never sticky. If it does cling to your worktop while kneading, dust on a little flour, work it in, and repeat until it no longer sticks.
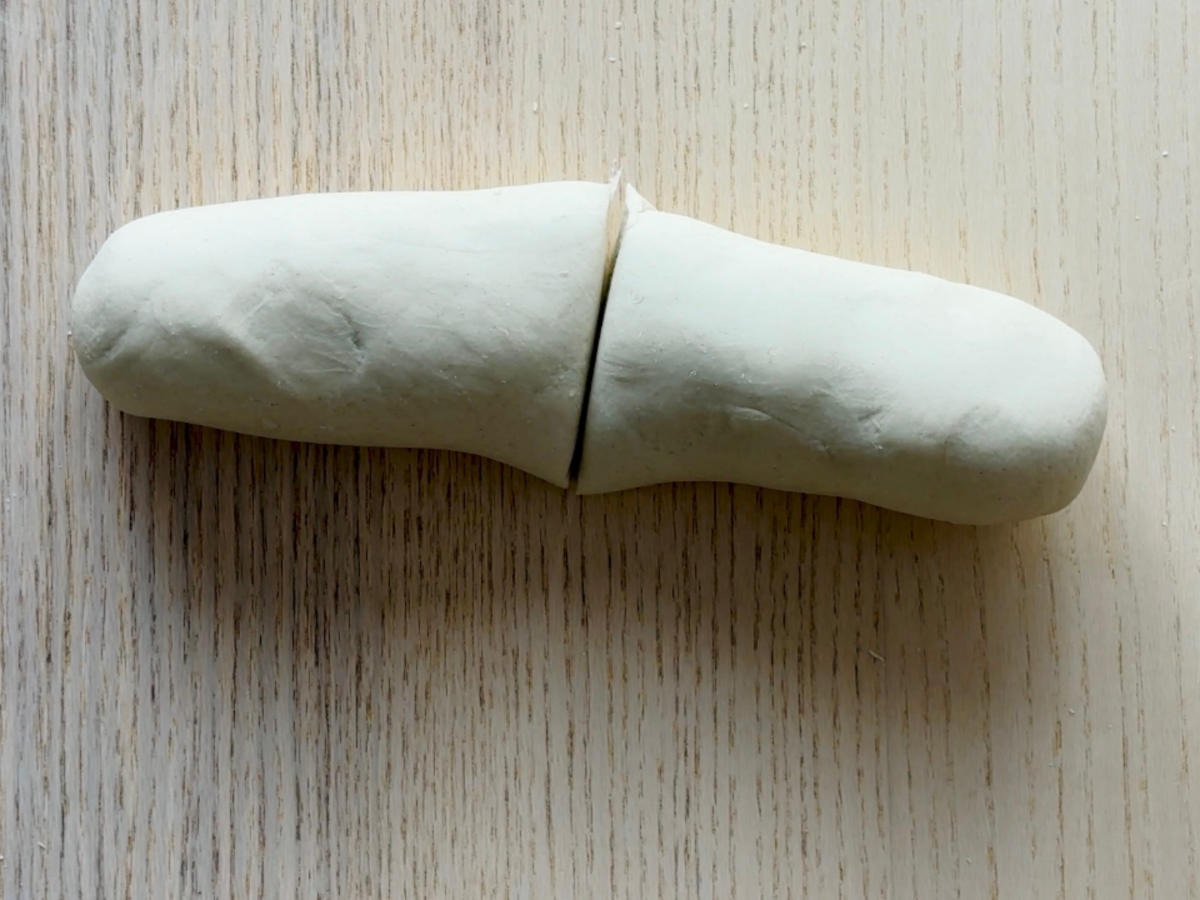
Rest and divide
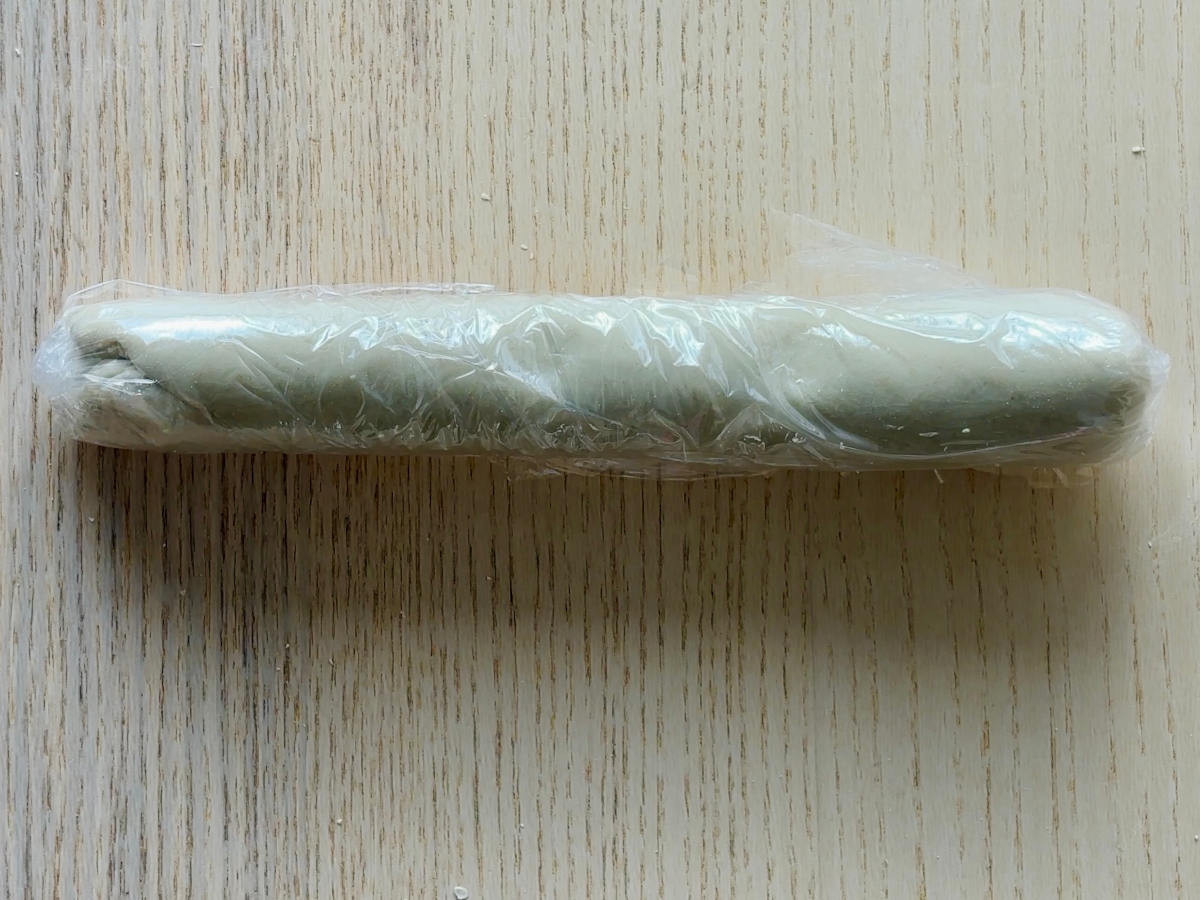
Shape the dough into a thick log and cut it in half. Roll each half into a rope about an inch thick, then wrap them tightly in cling film and rest for at least 30 minutes. This relaxes the gluten in the dough, making it much easier to roll thin without springing back later.
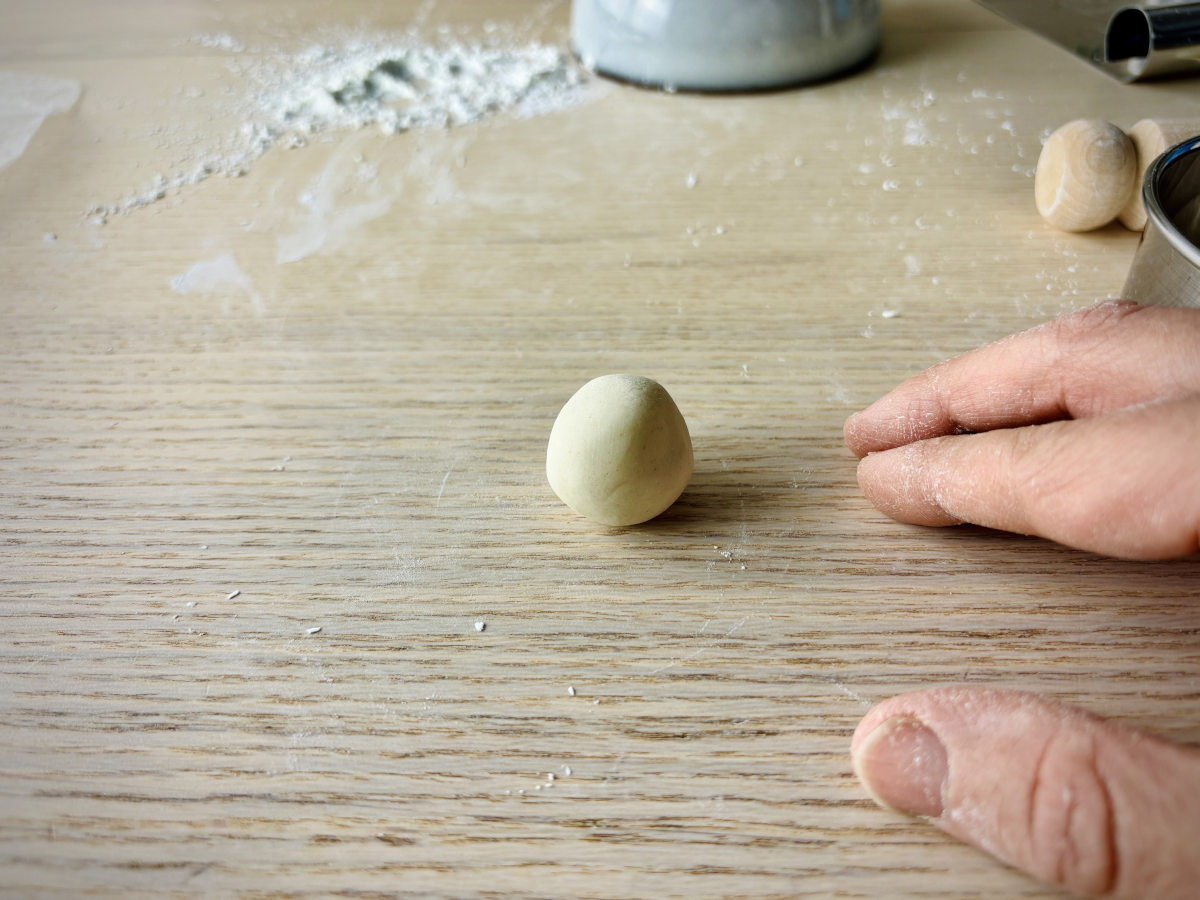
Once rested, unwrap one dough rope at a time, cutting it in half and then in half again, yielding four pieces. Cut each piece into four more parts to get sixteen-ish equal dough segments. Keep the pieces covered so they don't dry out while you work.

Tip: I find a dough cutter makes it easier to divide the gyoza dough into small cylinders. If you're using a knife, it can flatten the shape of the roll and stick, so keep the blade very dry and dust with a little extra flour to prevent sticking.
Roll and cut the skins
Working with one piece at a time, roll it into a ball, press it flat, and dust lightly with cornstarch.

Roll out from the centre with a rolling pin, turning the dough often, until it's about 1mm thick. Then use a cookie cutter to cut the gyoza dough into clean circles. I used a 4 inch cookie cutter, but a slightly smaller one will be fine if that's what you have.Cut out your circle, then dust each side lightly with cornstarch on both sides to stop it from sticking to other skins.

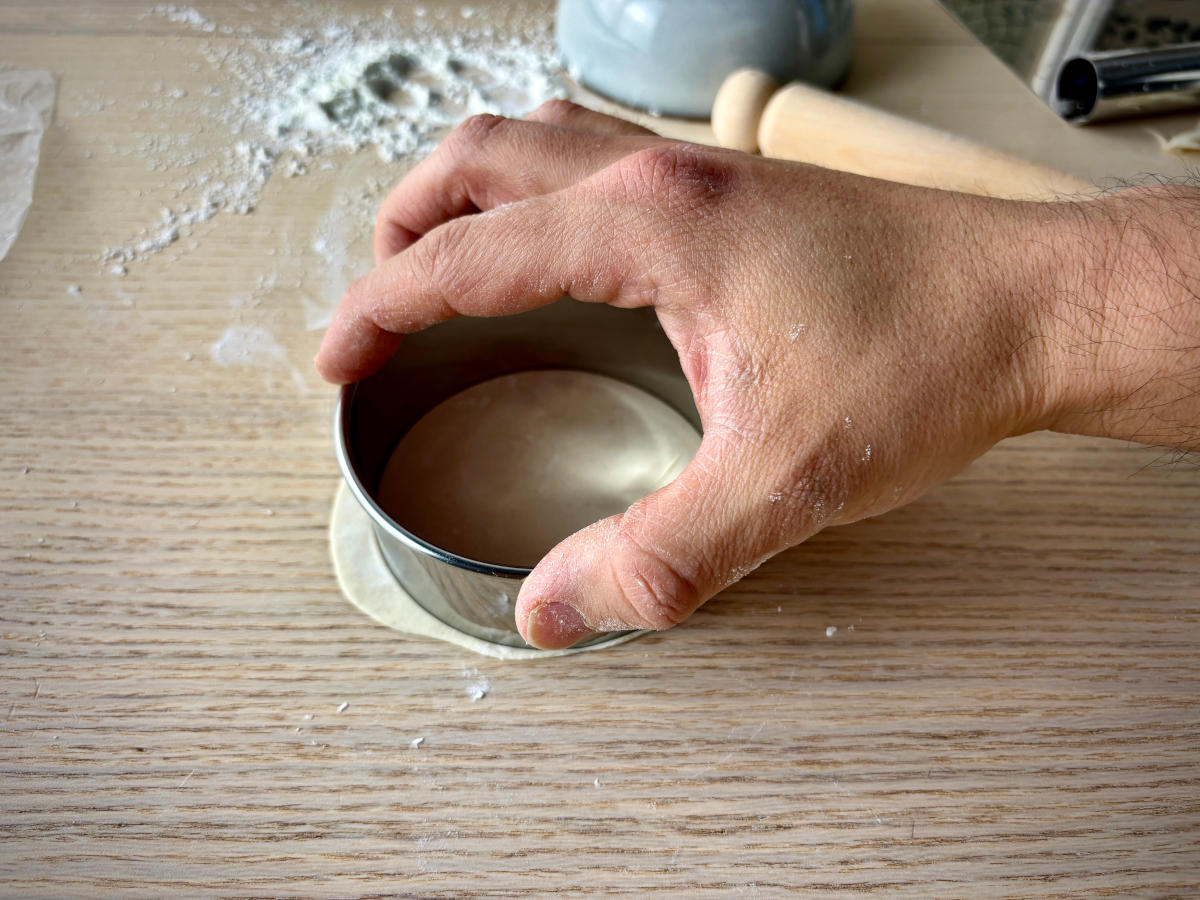
Tip: I experimented with a few different cookie cutter sizes and found that a 3.5 to 4 inch circle is good for wrapping gyoza and creates a perfectly sized dumpling.
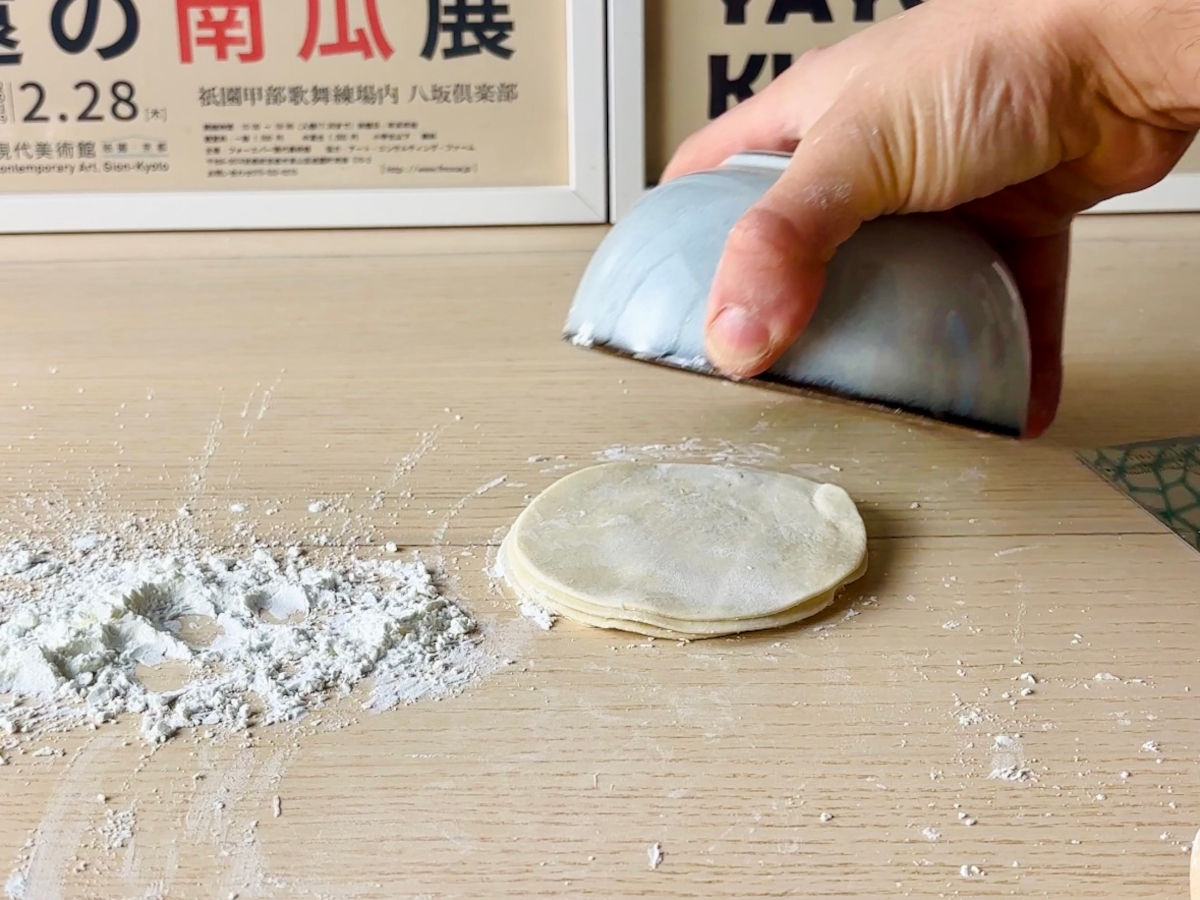
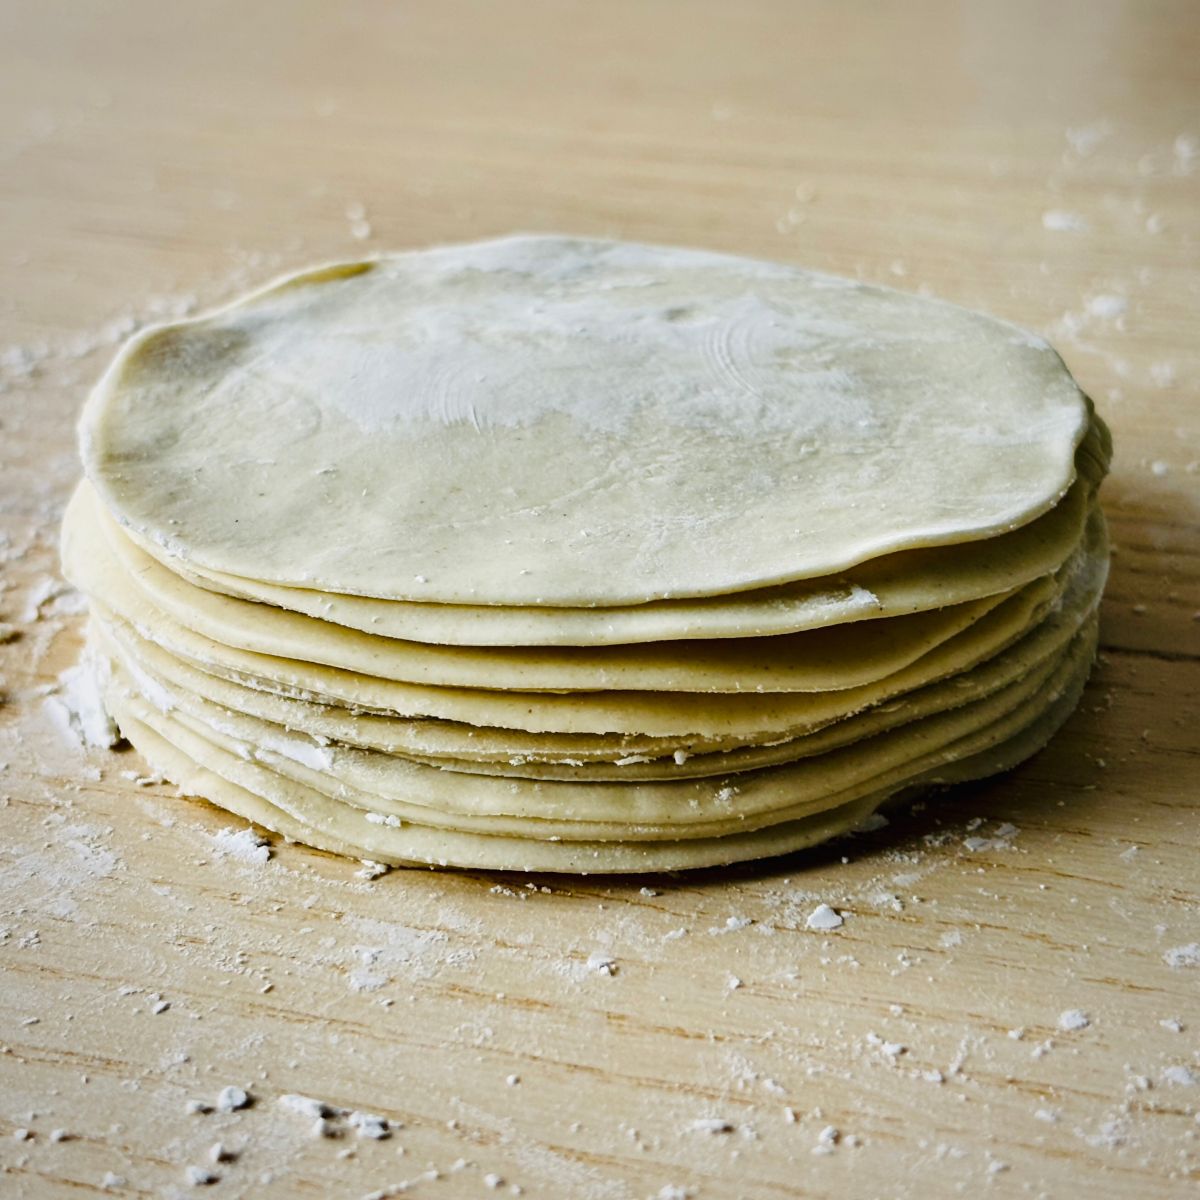
Stack the finished skins under a bowl or damp cloth so they stay soft while you work through the rest. If you're not using them straight away, dust well with cornstarch.
Now that you've got your skins ready, it's time to fill them with your favorite gyoza filling, pleat them, and pan-fry to golden perfection. Happy gyoza making!
Storage
You can freeze the wrappers on their own in an airtight ziplock bag. Take them out the night before, or at least half a day ahead, so they have time to thaw before wrapping. Personally, I prefer to make a big batch of gyoza already filled with my homemade vegan gyoza filling, then freeze them ready to cook. Having a stash in the freezer has saved dinner more than once. Store frozen for up to 3 months and cook straight from frozen using this method for cooking gyoza.
Gyoza Wrappers FAQs
Gyoza skins are usually round and a little thicker, which makes them easier to pleat and pan-fry. Wonton wrappers are often square and thinner, designed for boiling or deep-frying.
Yes. If you are keeping them fresh, cover the stack tightly and use within a day. For longer storage, it is best to freeze them and they will keep for up to 3 months.
Aim for around 1mm thick. You want them thin enough to pleat easily, but not so thin that they tear when you add the filling. If they are sticking to the board or feel floppy, dust with a little flour and roll again.
No. You don't want any raising agents as you want the gyoza skins to remain flat and not risk them bubbling when they hit the oil during the frying process. You could use bread flour, which has a higher gluten content so can make the gyoza skins a little chewier.
We like the chilled Ryushobo gyoza wrappers from Japan, which you can sometimes find in Asian supermarkets. Any good-quality dumpling wrappers will do, but check the label if you want them to be vegan. Serve them with one of these Japanese rice recipes for a simple meal.
📖 Recipe

Homemade Gyoza Wrappers (Vegan Dumpling Skins Recipe)
Equipment
- 1 Rolling Pin small
- cling film
- Mixing bowls
- Dough cutter (or knife)
Ingredients
- 150 g bread flour
- 150 g all purpose flour (plain flour)
- 1 large pinch good quality sea salt (such as Maldon)
- 150 ml of just boiled water (have a touch more to hand if needed)
Instructions cook mode
- Sieve the flour into a mixing bowl and sprinkle over the salt.
- Gradually add the boiling water, mixing with a spatula until the dough looks shaggy.
- Once cool enough to handle, knead the dough in the bowl until it comes together.
- Transfer to a work surface and knead for about 10 minutes until smooth and pliable. If sticky, dust with a little flour; if dry, add a splash of water.
- Shape the dough into a log and cut in half.
- Roll each half into a rope about 1 inch thick and 12 inches long. Wrap in cling film and rest for 30 minutes.
- Cut each rope into quarters, then cut each quarter into 4 equal pieces to make 16. Keep the dough pieces covered so they do not dry out while you work.
- Working with one piece at a time, roll it into a ball and flatten slightly with your hand. Dust both sides with cornstarch.
- Roll out from the centre with a rolling pin to about 1 mm thick, turning often to keep the shape even.
- Use a 3.5-4 inch cookie cutter to cut a clean circle. Dust the skin lightly with cornstarch on both sides.
- Stack the finished skins under an inverted bowl or damp cloth until ready to use, and continue with the rest.
Notes
- Use the dough quantities as written; adding extra water can make the skins weak and sticky. The dough should feel firm and pliable, not tacky.
- For filling and folding instructions, see our Veggie Gyoza recipe.
-
Gyoza are perfect served with:
- Any of our favorite vegan Japanese rice dishes
- Alongside vegan yaki udon
- With a bowl of rice and other sides like sticky tofu or miso eggplant


Leave a Reply